
How to Design Your GogoPogo Store
If you are a creator selling digital products, merchandise, or services, building a well-designed store is essential for attracting customers. Platforms like GogoPogo allow creators to easily create their own storefront and customize it according to their brand.
In this tutorial, we will walk through the exact steps shown in the video to help you design and customize yourstore.
Step 1: Open the Store Customization Section
Section titled “Step 1: Open the Store Customization Section”After logging in, go to the section where you can design your store.
What to do
Section titled “What to do”- On the dashboard, click the Design Your Store option.
- The store editor will open.
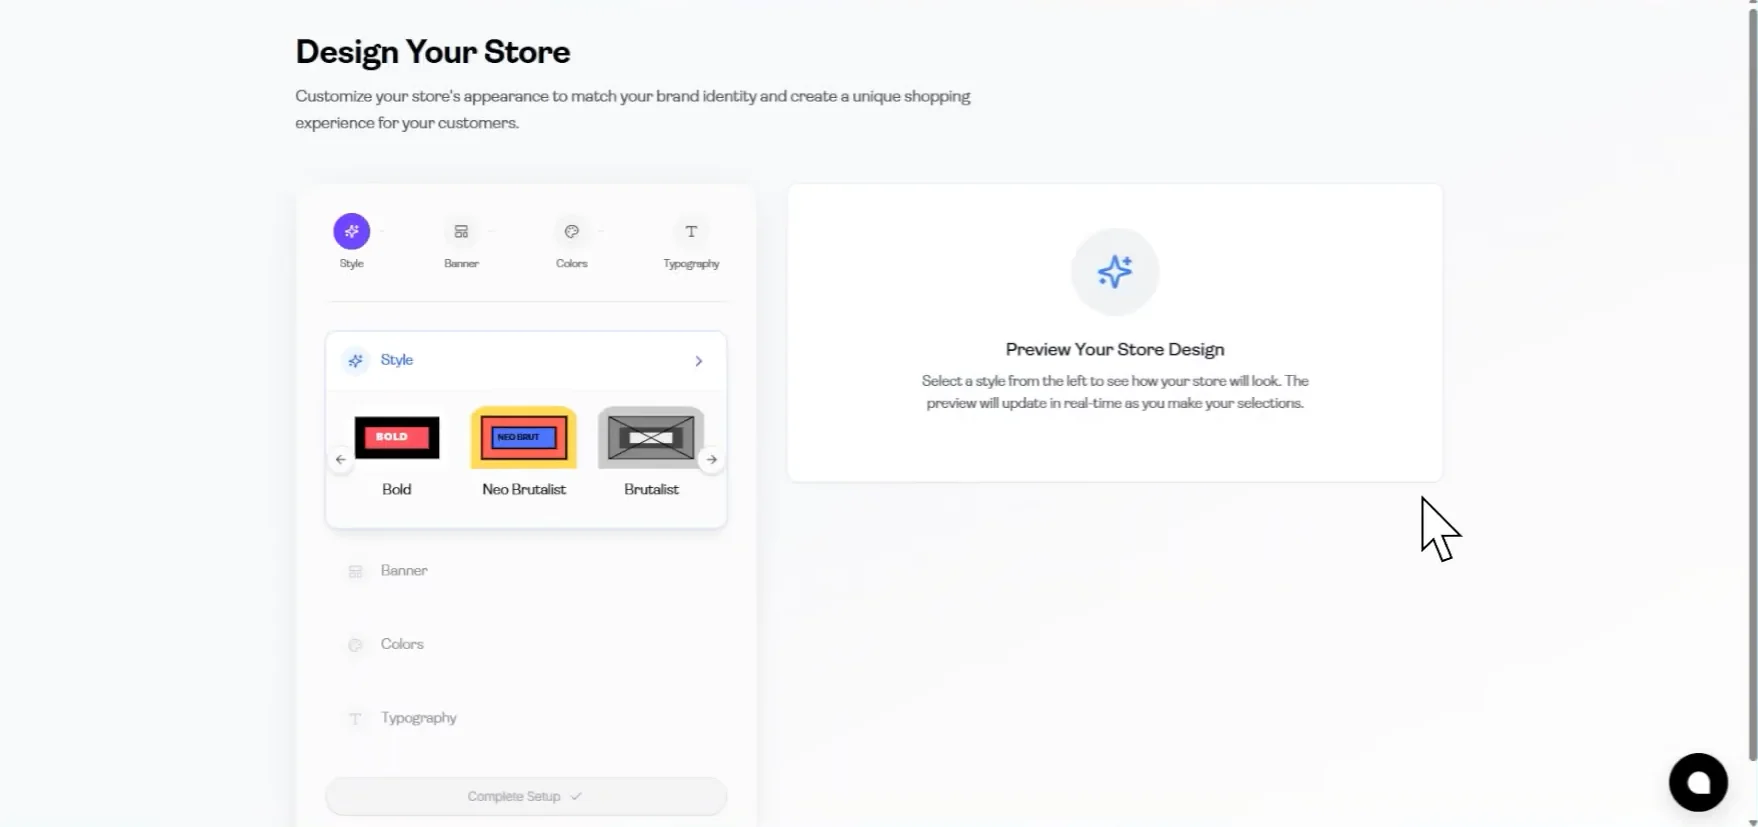
Step 2: Choose a Store Style
Section titled “Step 2: Choose a Store Style”After opening the Style section in the store editor, you will see different design styles available for your store layout.
What you can do
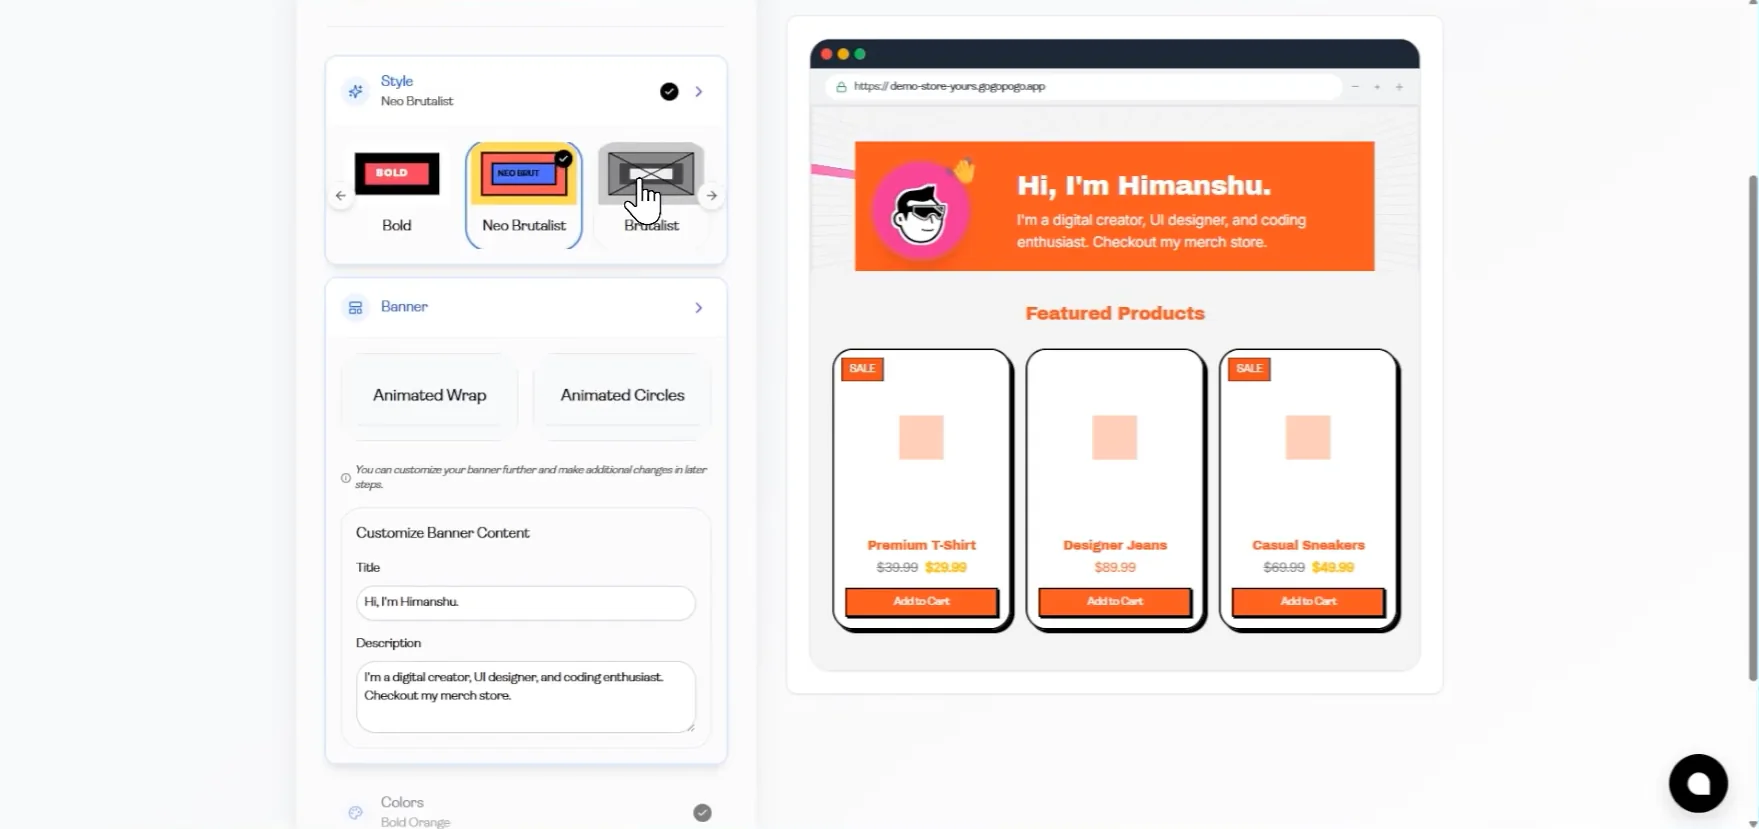
Section titled “What you can do”- Select a style such as Bold, Neo Brutalist, Brutalist, etc.
- Each style changes the visual layout and appearance of your store.
- Click on the style you prefer to apply it instantly.
The preview on the right side will update automatically to show how your store will look with the selected design.
Step 3: Customize the Store Banner
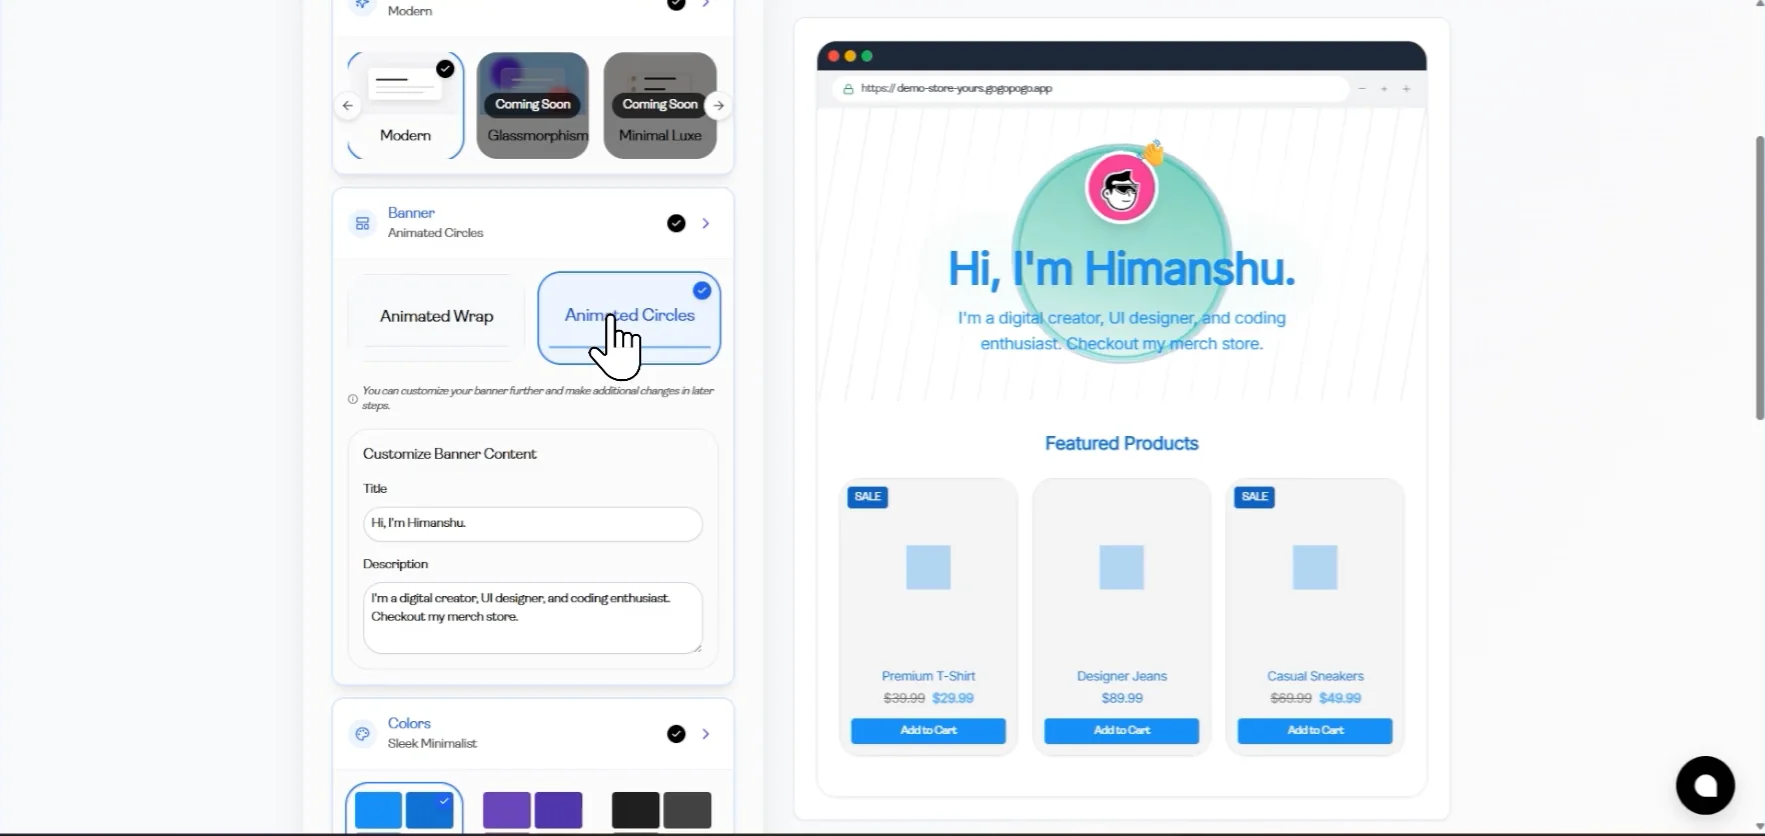
Section titled “Step 3: Customize the Store Banner”Below the style options, you will find the Banner customization settings.
What you can do
Section titled “What you can do”- Choose a banner animation style such as Animated Wrap or Animated Circles.
- Edit the Banner Title.
- Add a description that introduces your store or brand.
This section allows you to create a strong first impression for visitors when they land on your store page.
Step 4: Customize Store Colors and Typography
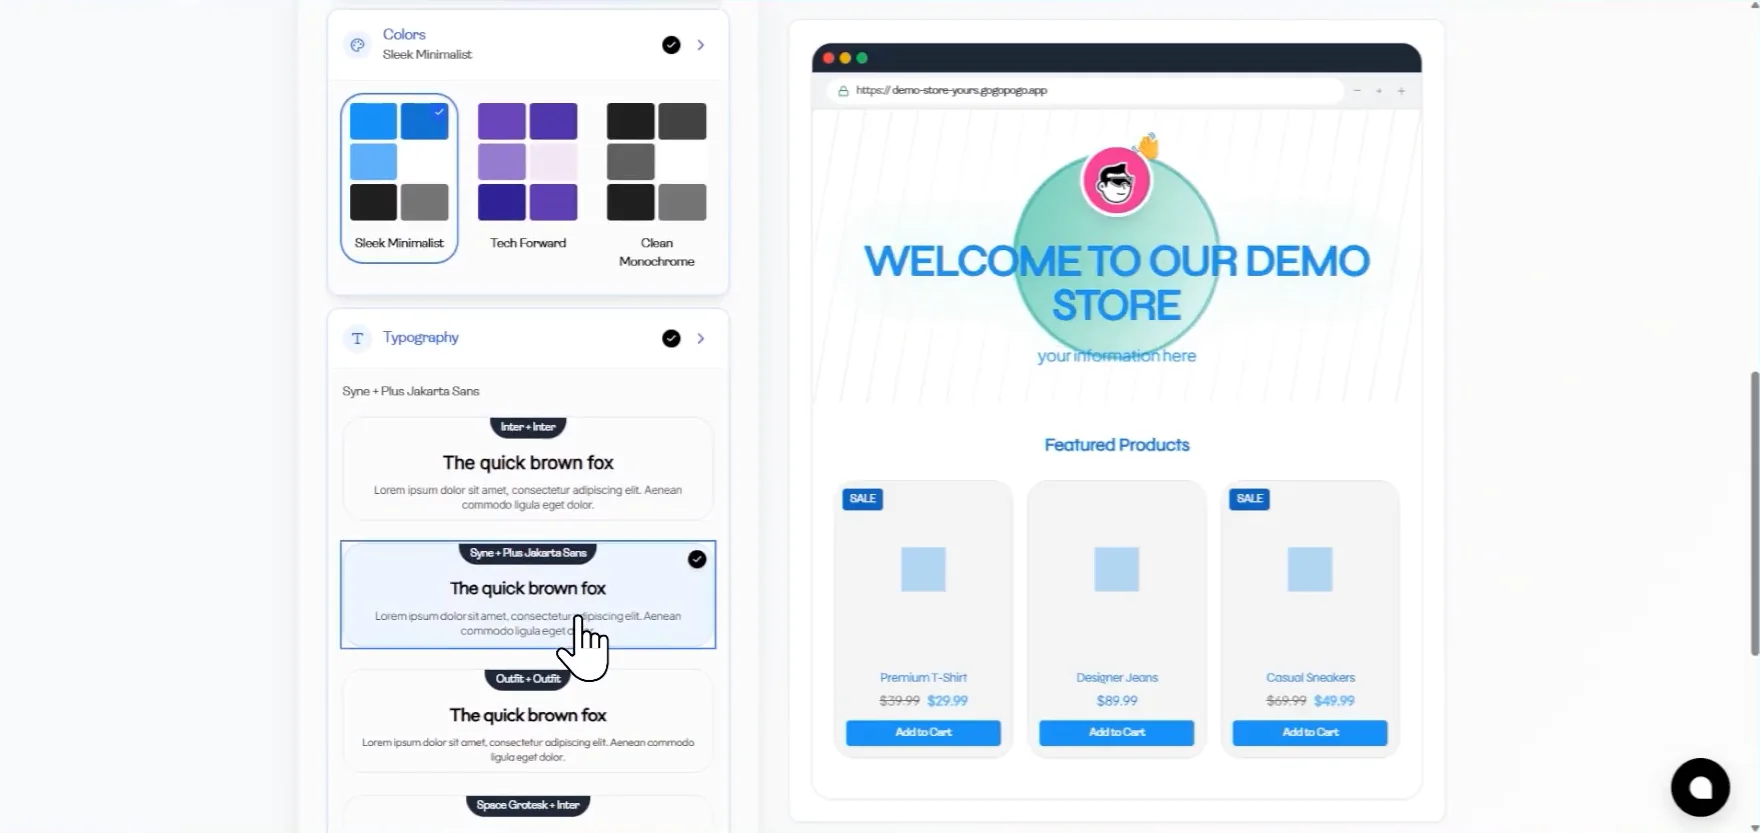
Section titled “Step 4: Customize Store Colors and Typography”Next, scroll down to the Colors and Typography sections in the store editor. These settings allow you to control the visual appearance and text style of your store.
What you can do
Section titled “What you can do”- Choose a color theme such as Sleek Minimalist, Tech Forward, or Clean Monochrome.
- The selected palette will update elements like buttons, highlights, and interface colors.
- Select a typography style to define how headings and text will appear across your store.
As you make these changes, the live preview on the right side will automatically update, helping you see how your store design looks before publishing.
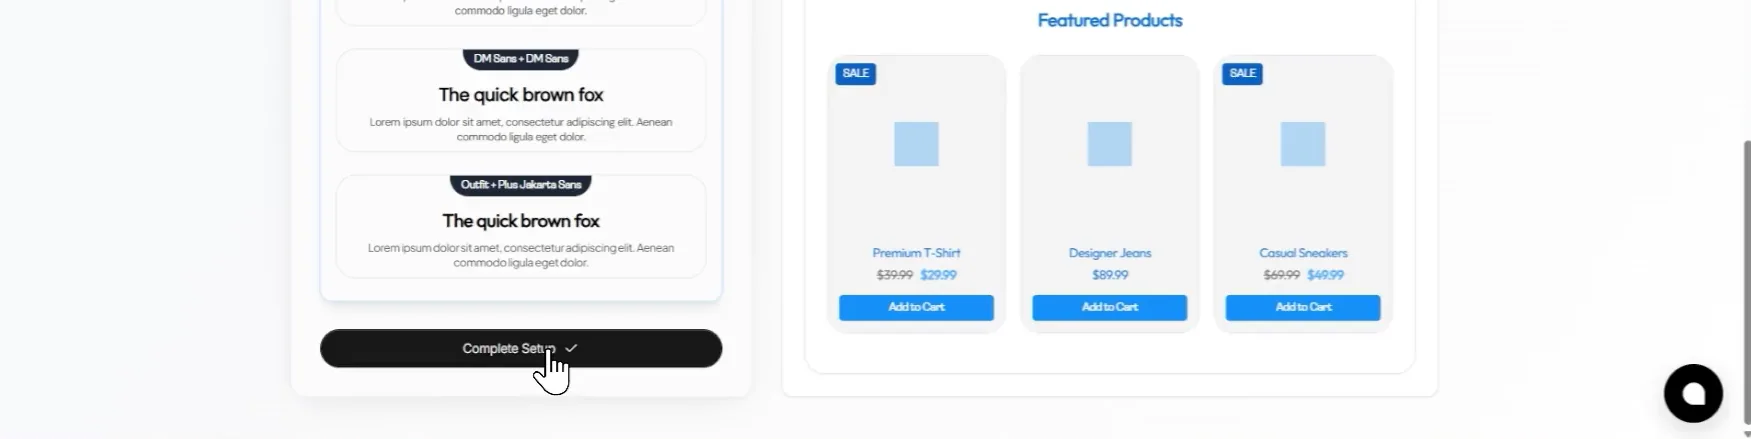
Step 5: Click on Complete Setup
Section titled “Step 5: Click on Complete Setup”After finishing the customization of style, colors, and typography, scroll down and click on the Complete Setup option.
This step finalizes the basic design settings and moves you to the main store editor where you can manage the layout and sections of your store.
Step 6: Access the Store Editor Interface
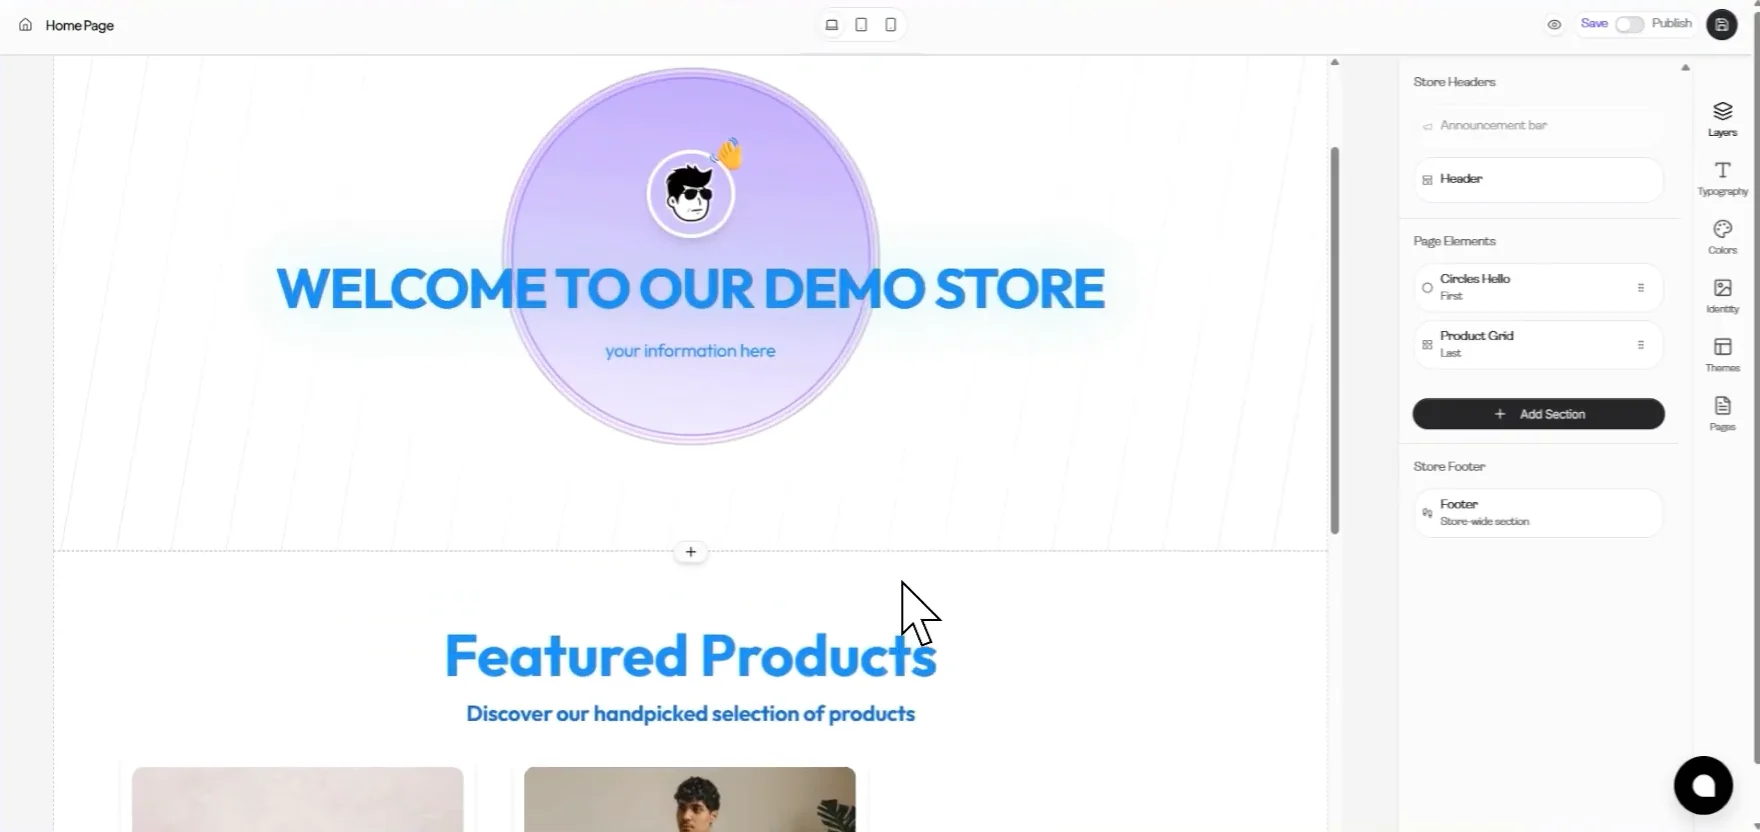
Section titled “Step 6: Access the Store Editor Interface”Once you click Complete Setup, the full Store Editor interface will open.
You will see a live preview of your store homepage, displaying elements like the welcome banner & featured products section and also a control panel on the right side with store sections. Here you can customize and manage your store layout.
Available options on the right side
Section titled “Available options on the right side”- Layers – Manage and arrange store sections
- Typography – Change fonts and text style
- Colors – Adjust the store color scheme
- Identity – Edit store branding and logo
- Themes – Select or modify store themes
- Pages – Manage store pages
Top-right options
Section titled “Top-right options”- Eye icon – Preview your store
- Save – Save your changes
- Publish – Make your store live
Step 7: Publish Your Store
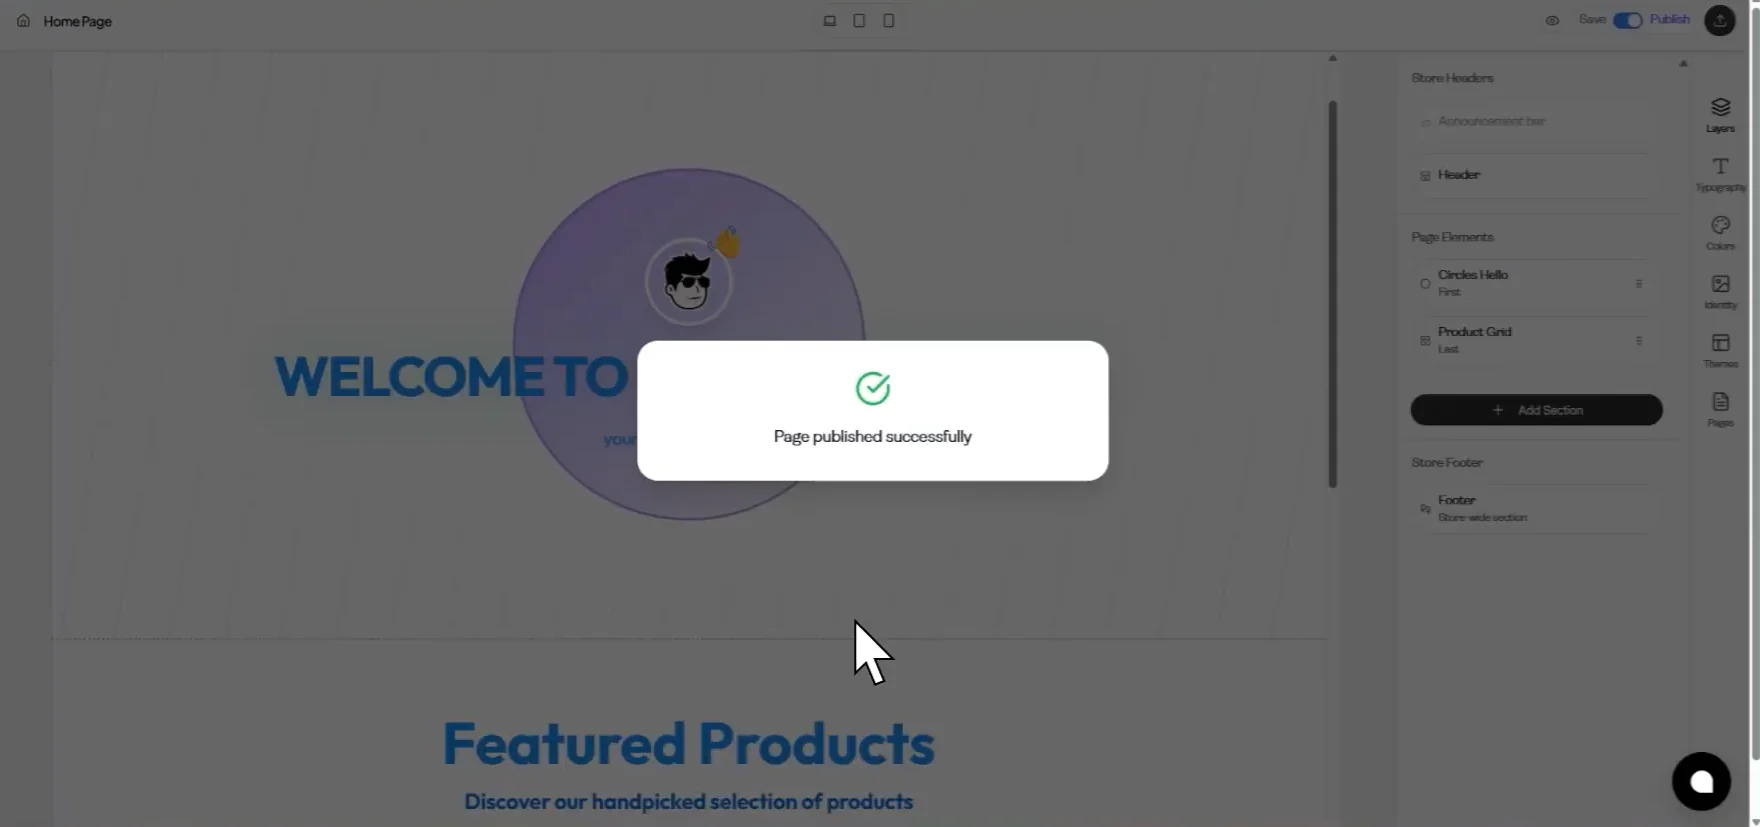
Section titled “Step 7: Publish Your Store”Once everything looks good, make your store live.
What to do
Section titled “What to do”- Click Save.
- Select Publish.
- Share your store link with your audience.
Know more about designing and customizing your store at:
Customize Your GogoPogo Store Layout and Theme
Designing a professional creator store on GogoPogo is simple when you follow the right steps. By adding proper branding, visuals, and organized product sections, you can create a store that looks professional and attracts customers. A well-designed store not only improves user experience but also helps creators build a stronger brand online.