
How to Create a Blog Post on GogoPogo
Your dashboard has a blog built in. You write the posts; they appear on your own store website under /blogs. Flip any picture below between Desktop and Mobile to see that screen on a laptop and on a phone.
Step 1 — Open the Blogs list
Section titled “Step 1 — Open the Blogs list”Marketing in the left menu, then Blogs. Newest edits first.
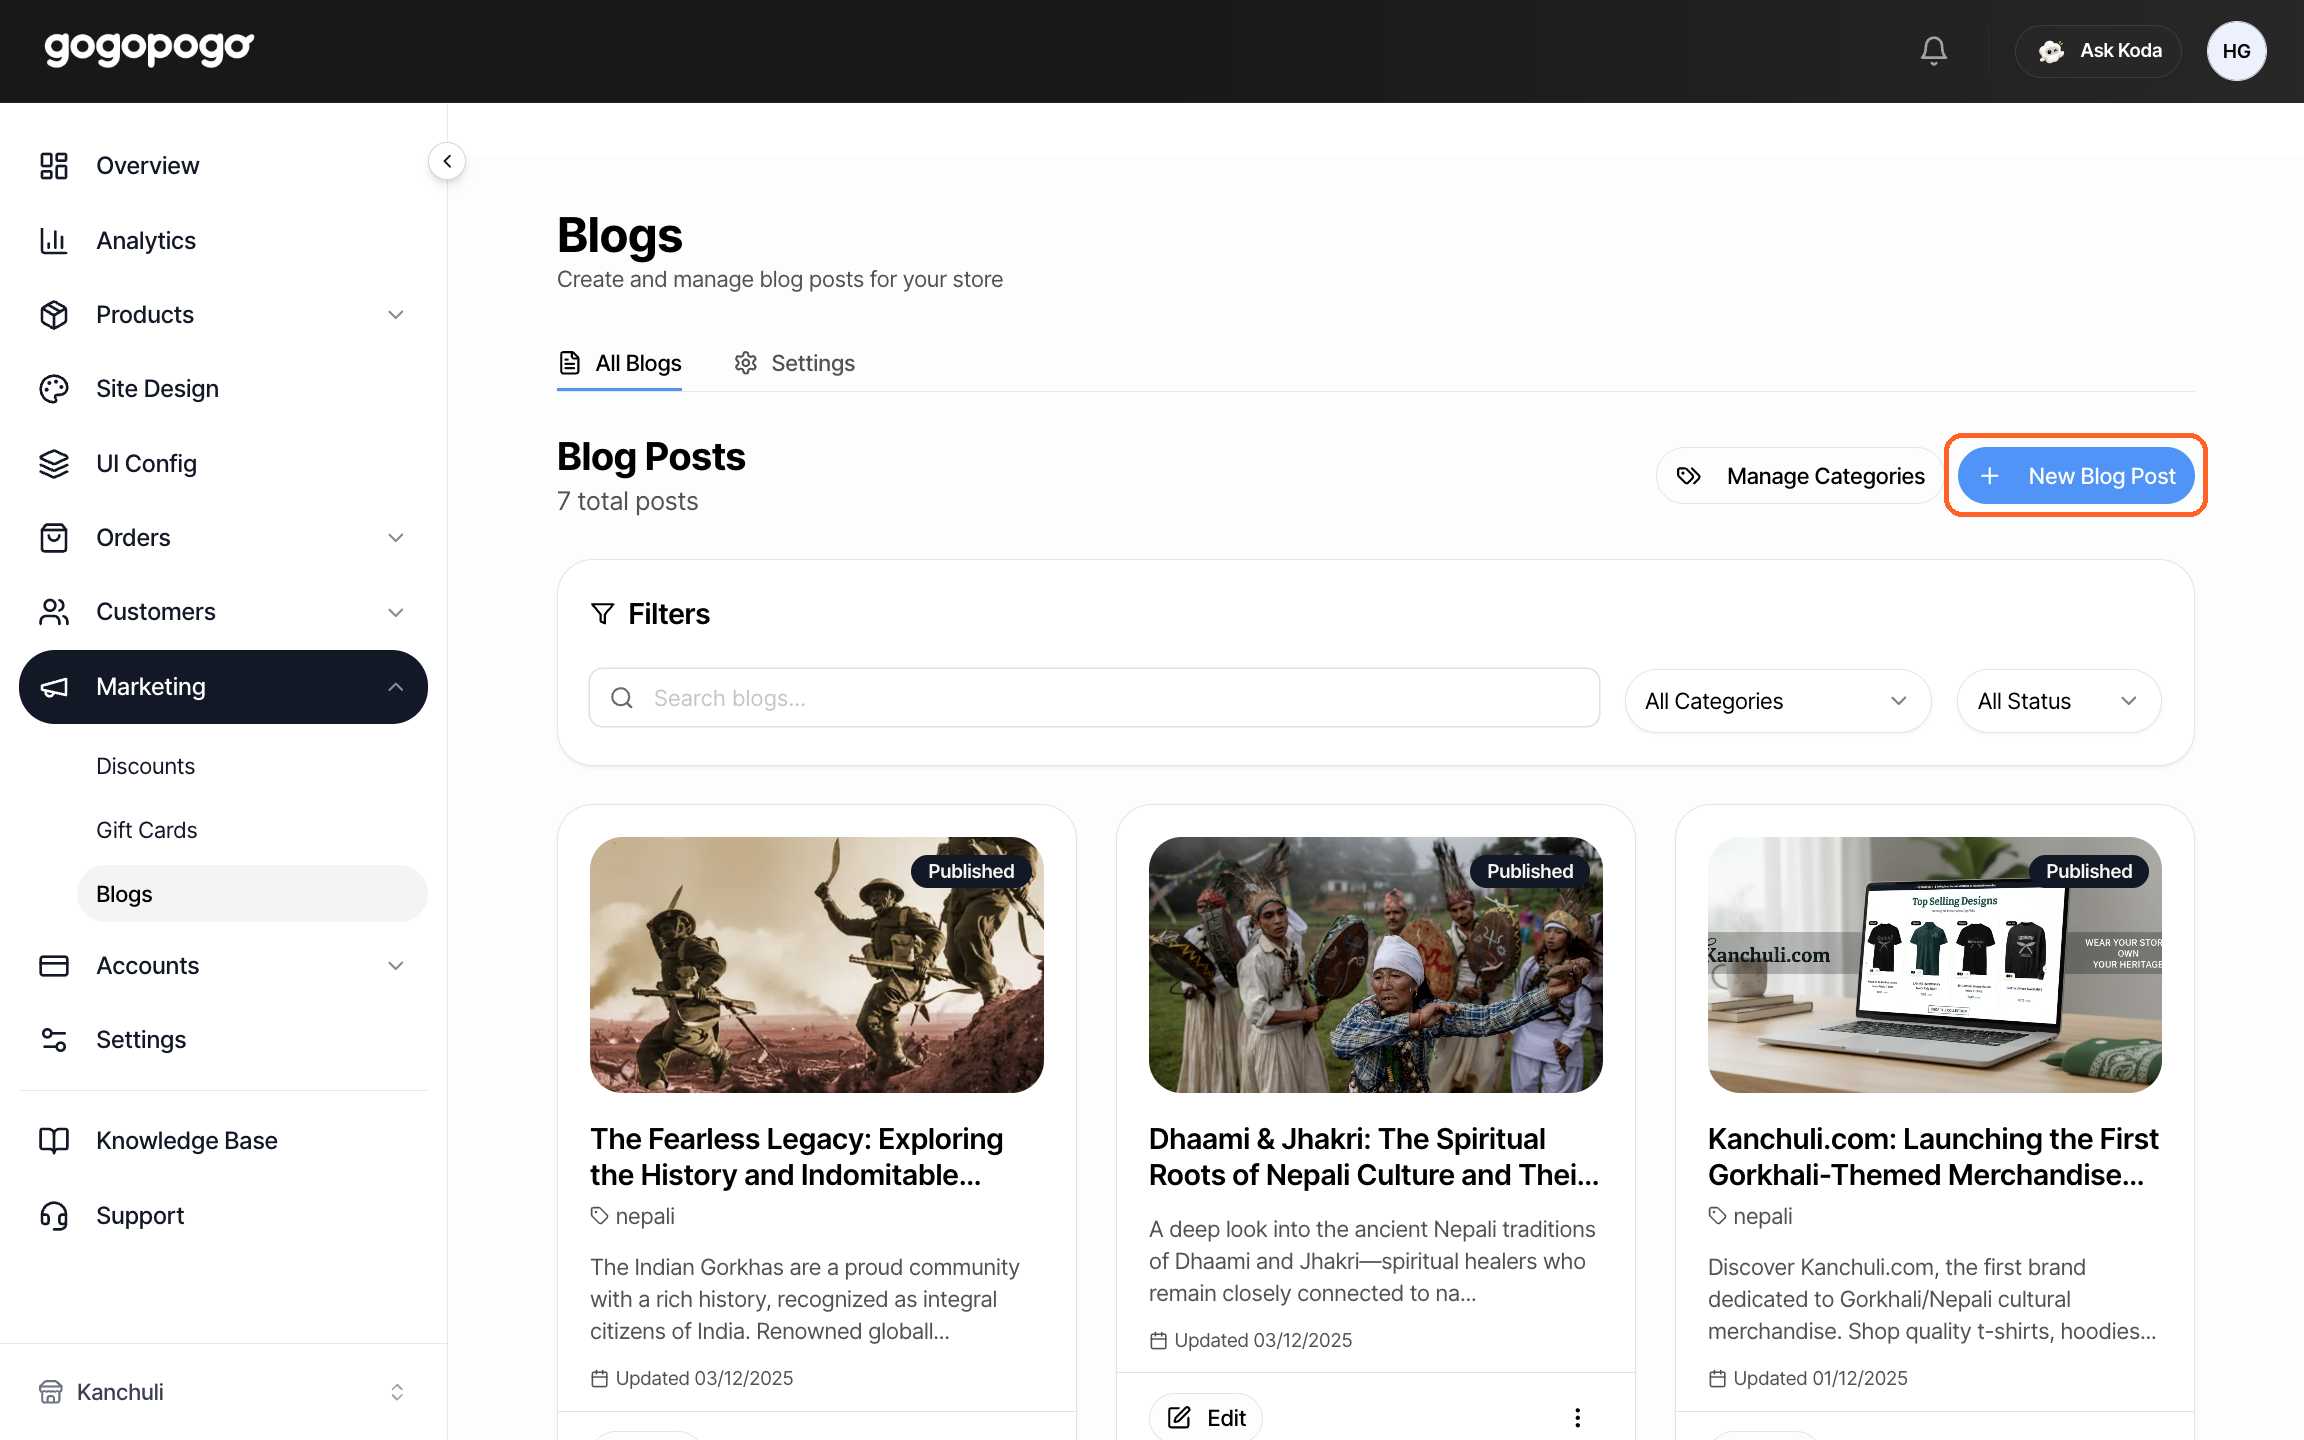
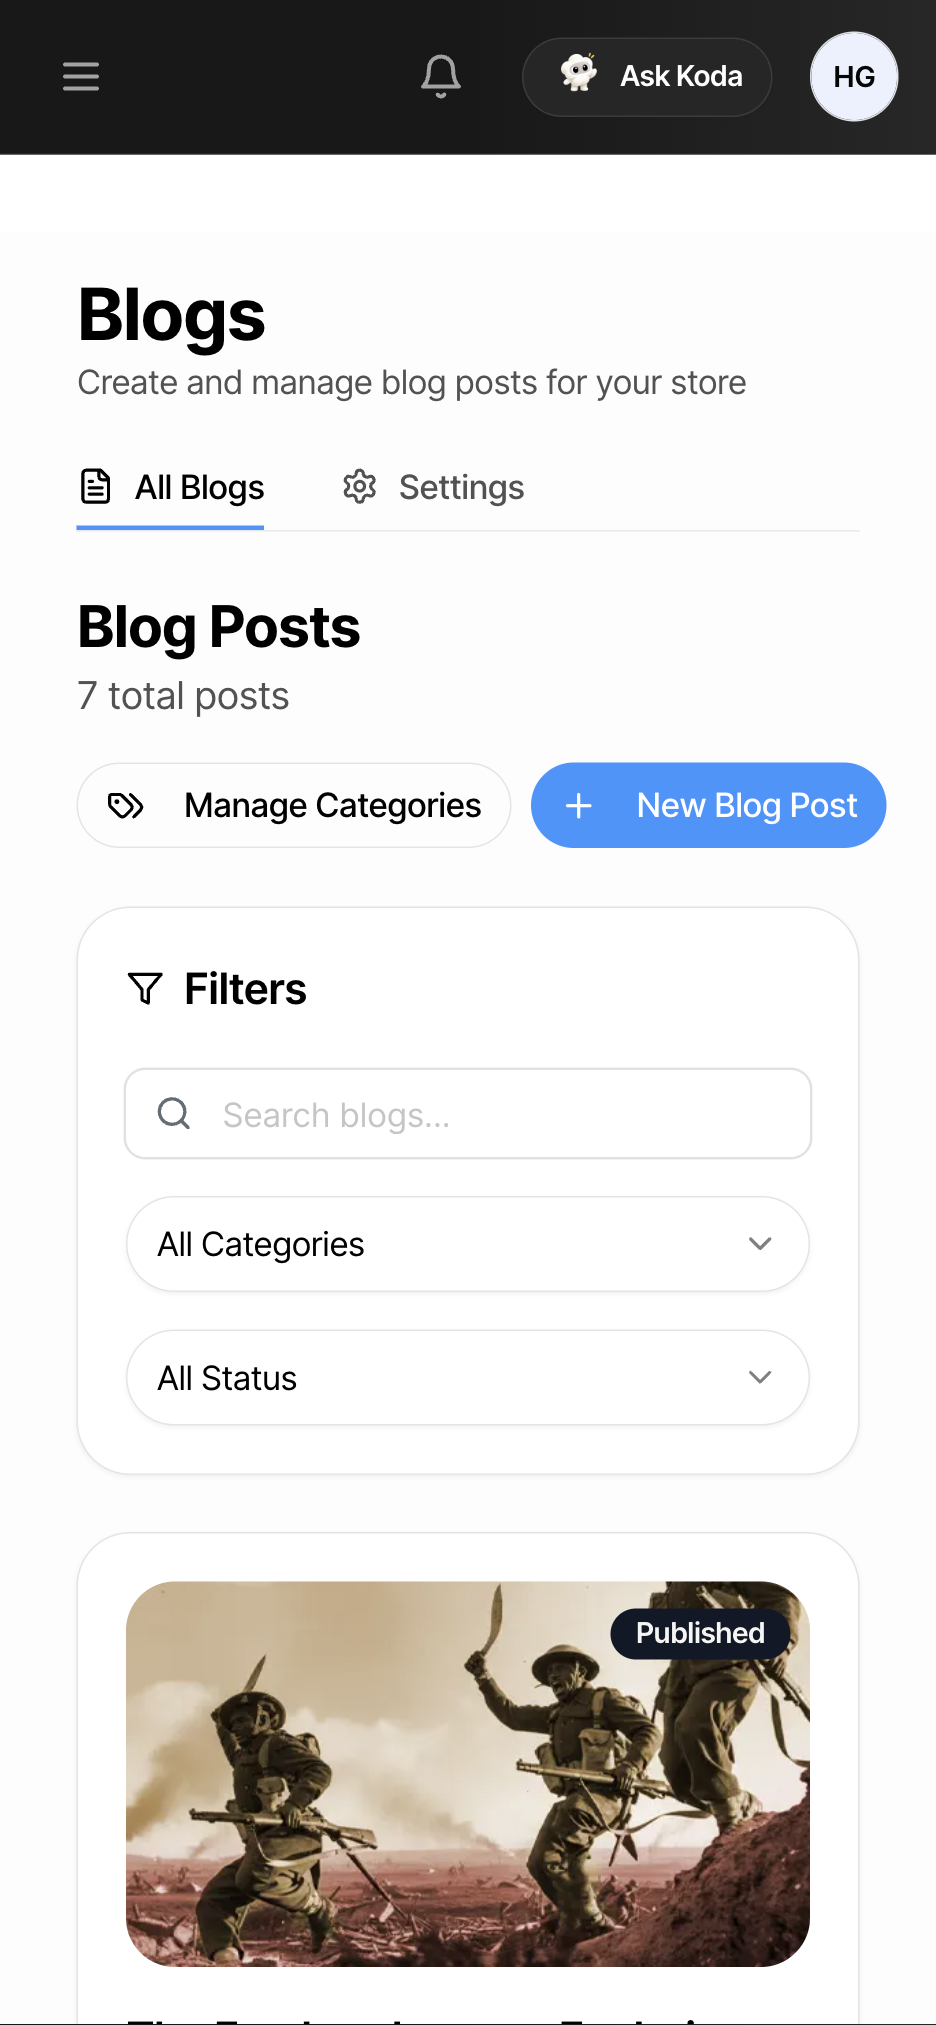
Each post shows its cover picture, a Published or Draft label, the title, category, description and when it was last changed. Filters searches by text, category or status. Manage Categories and New Blog Post sit at the top right.
Step 2 — Click “New Blog Post”
Section titled “Step 2 — Click “New Blog Post””This button does not open a blank page — it creates a real draft immediately, saved as Untitled Blog Post. Close the tab and it is still there, one click away from being live.
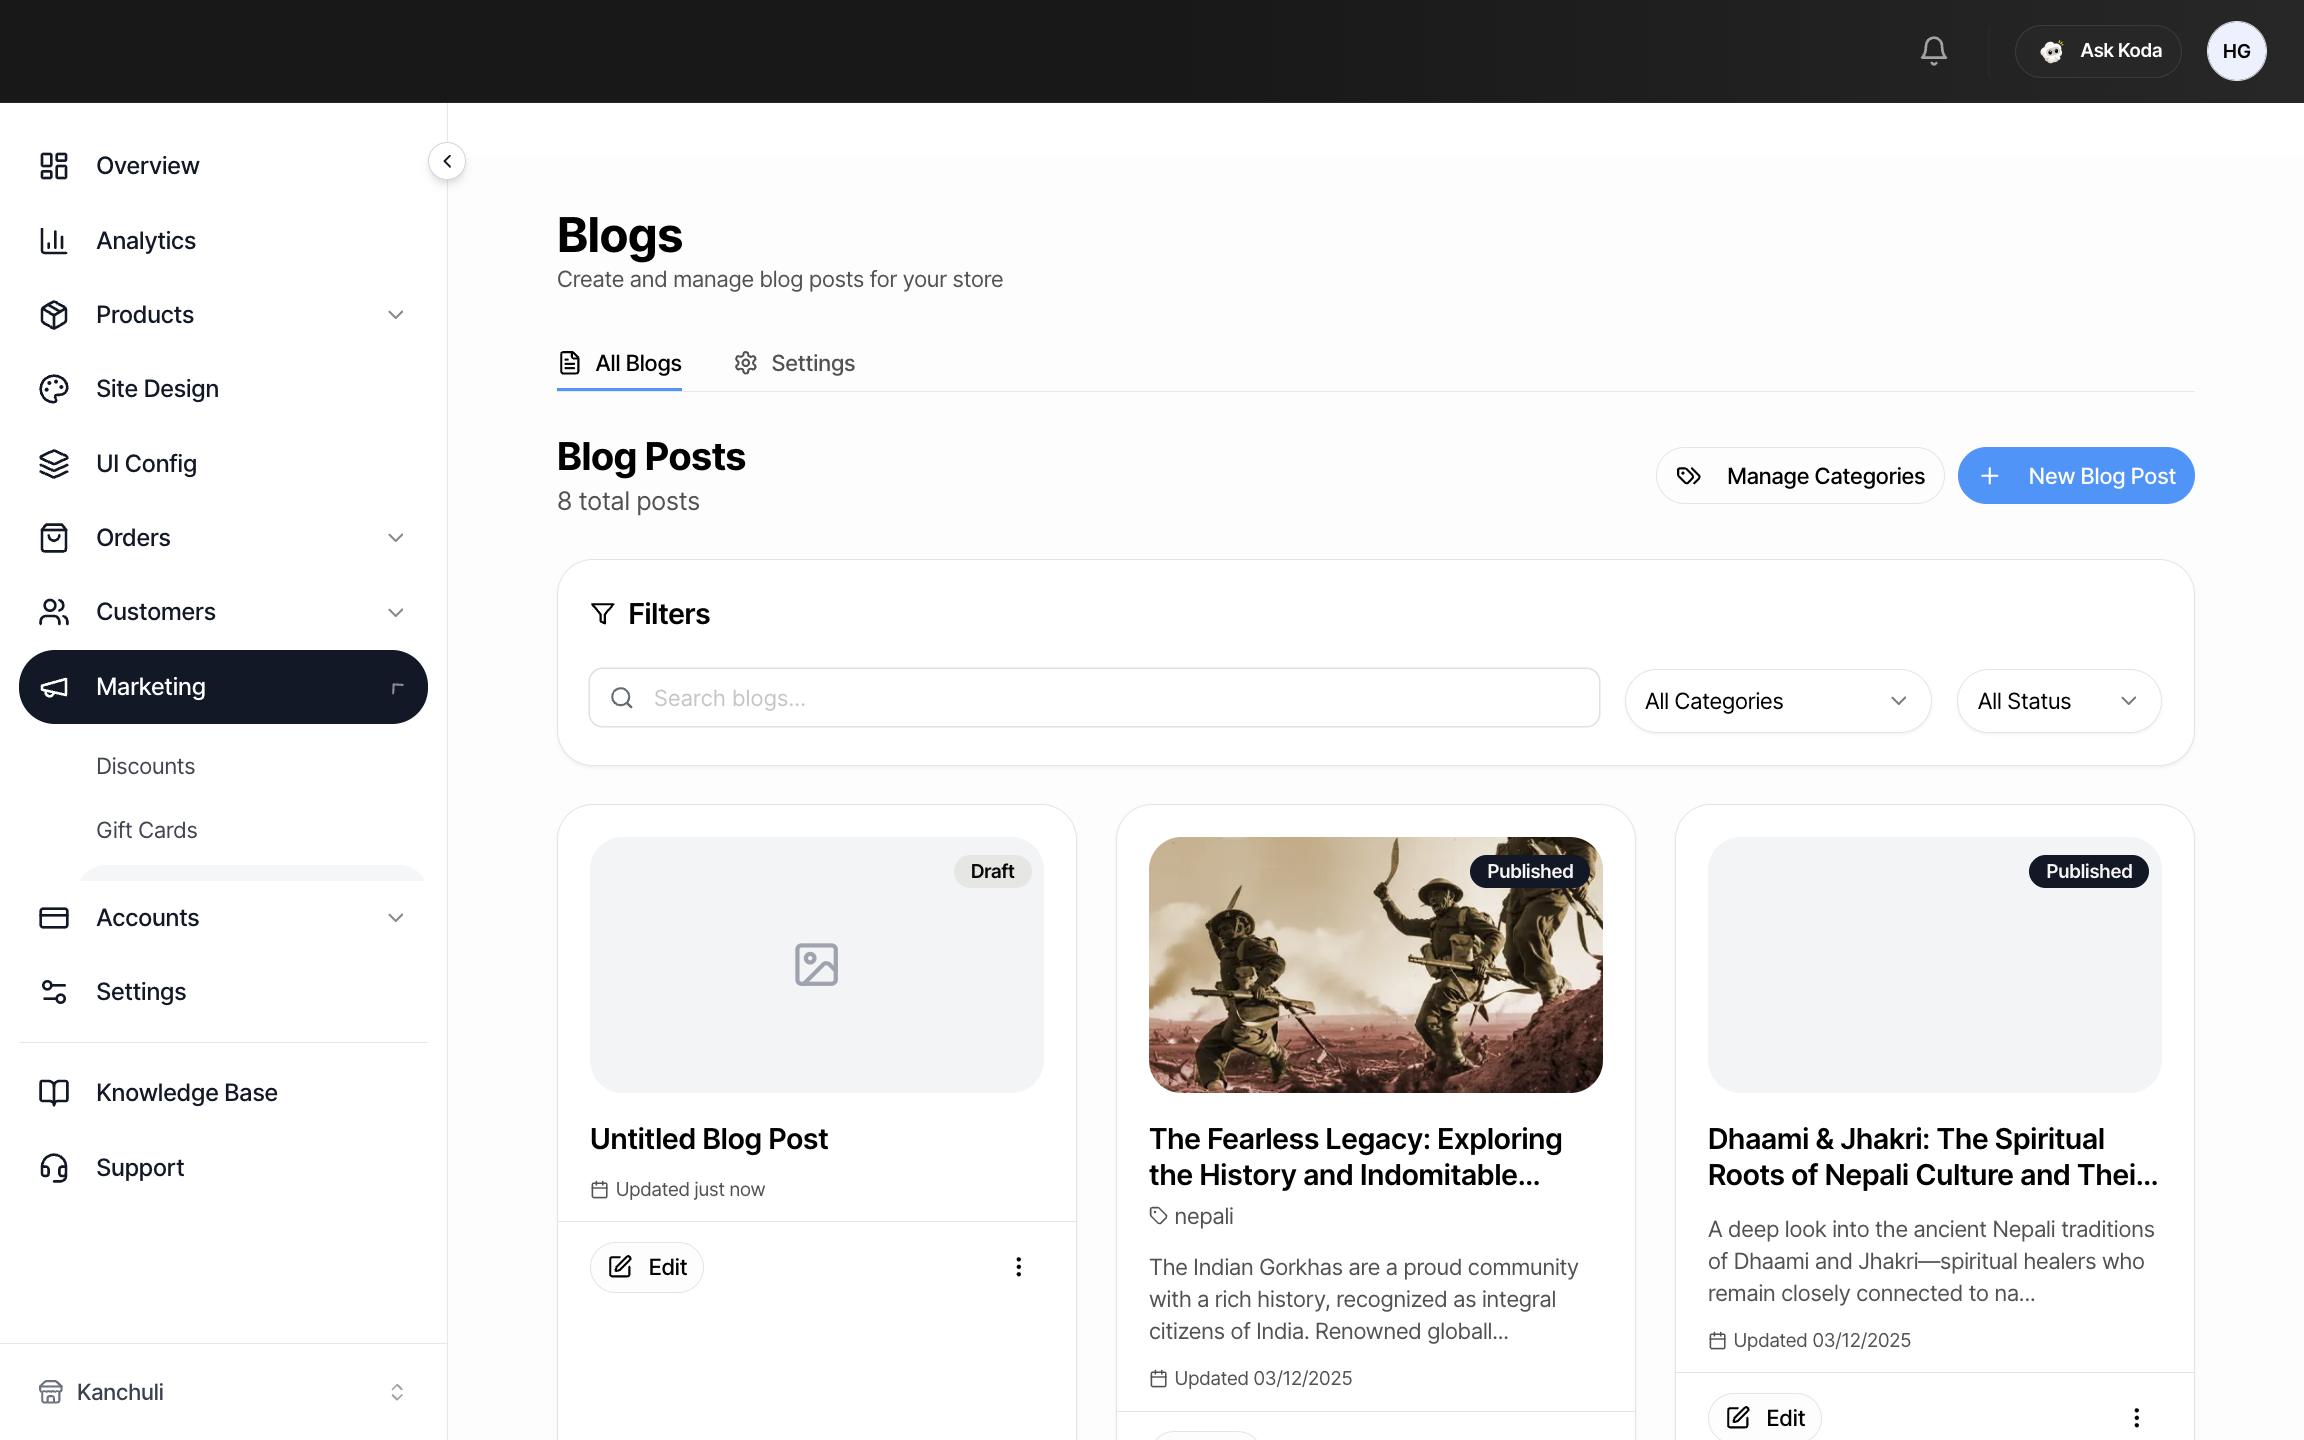
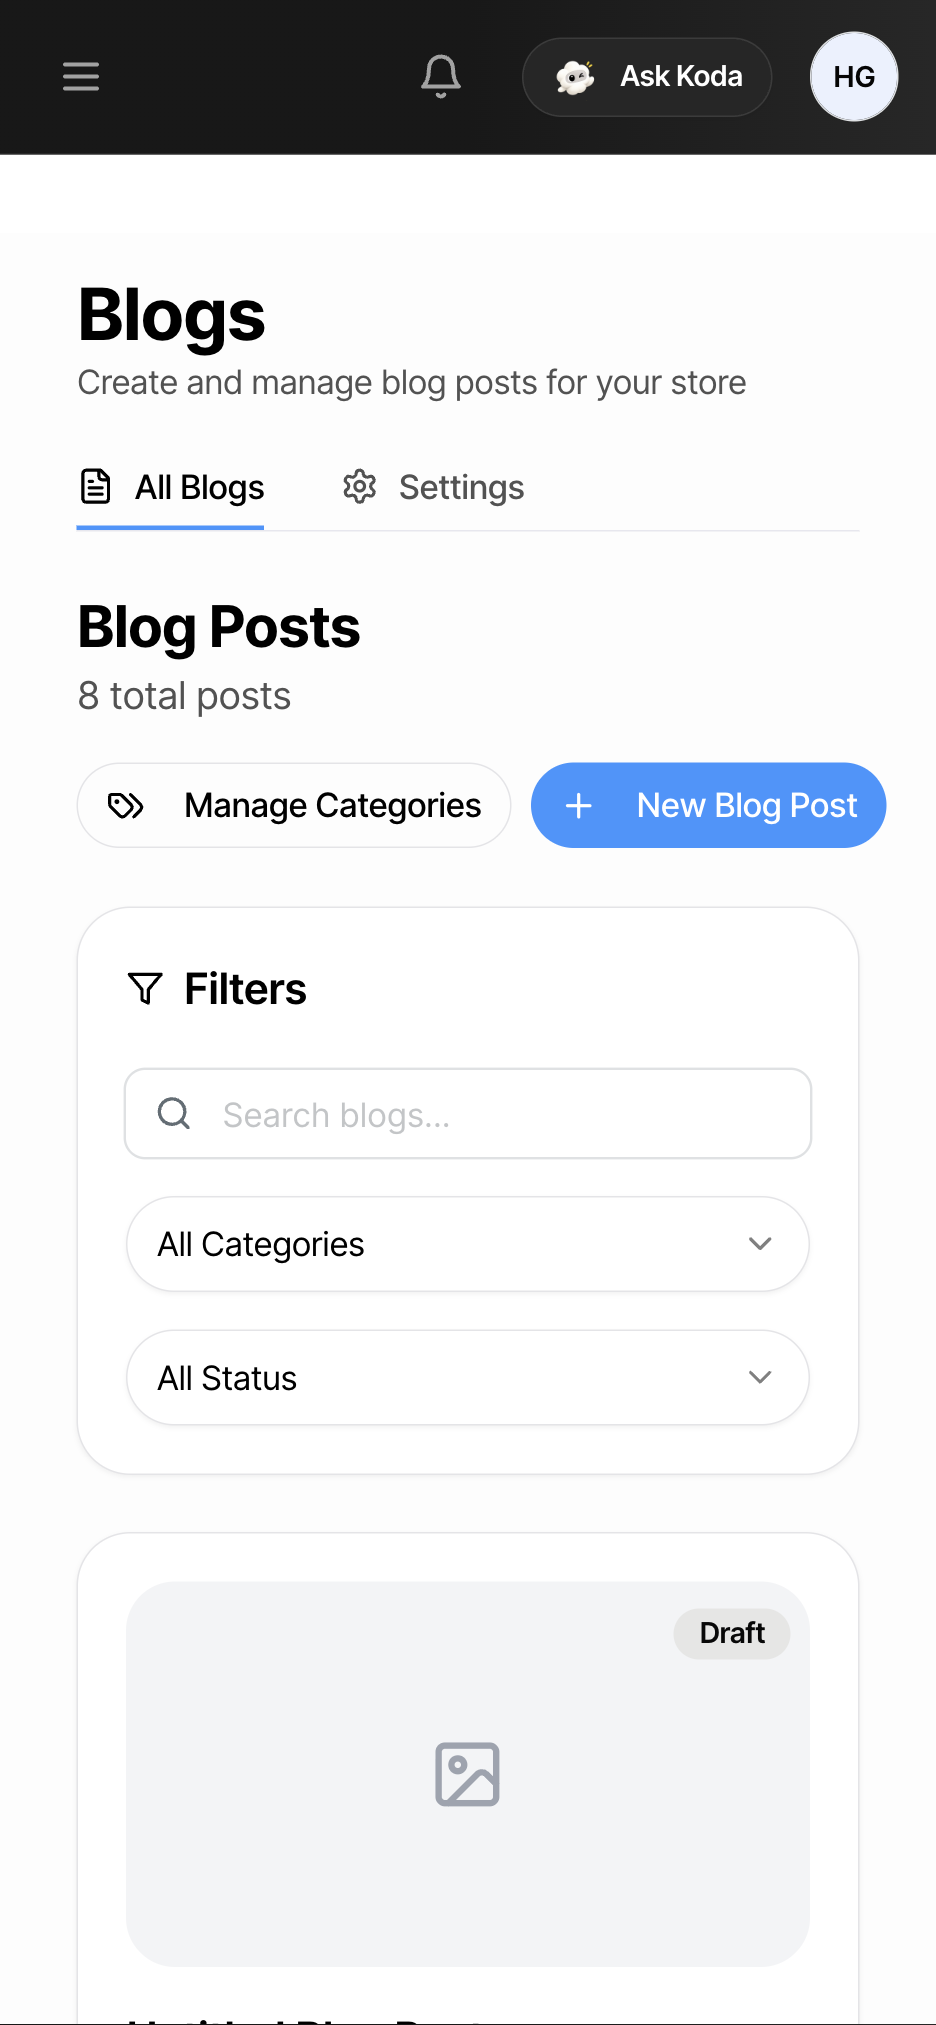
Looked around and decided not to write? Delete that draft before you leave.
Step 3 — Add a cover picture
Section titled “Step 3 — Add a cover picture”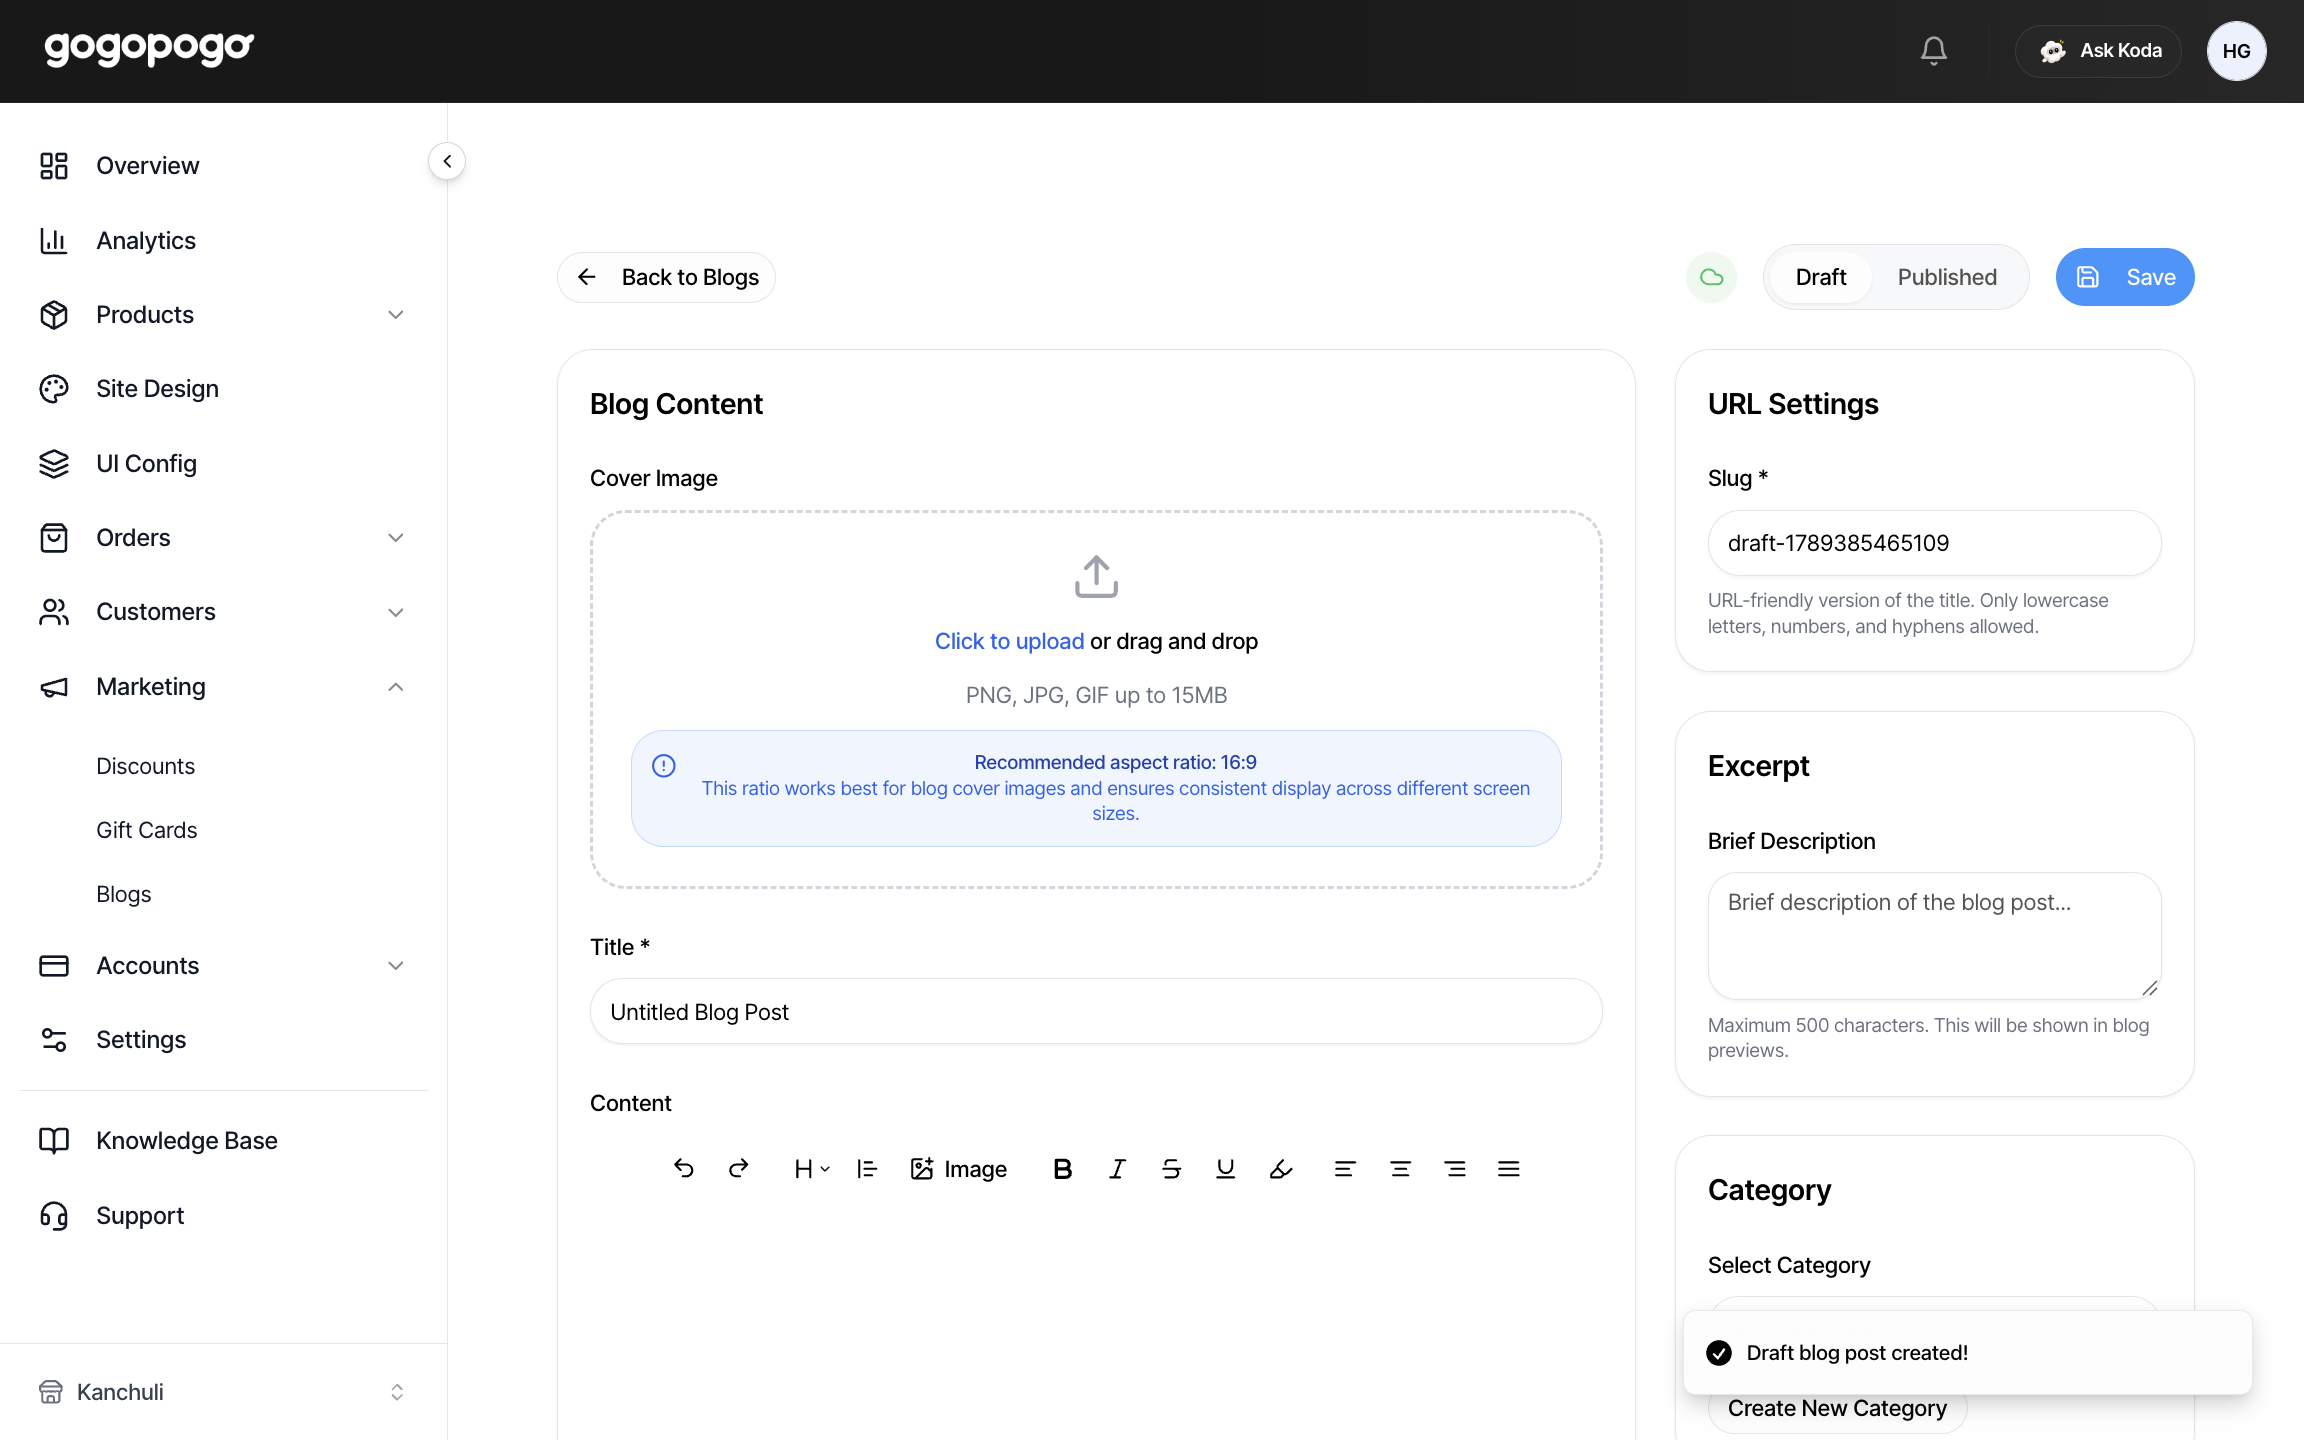
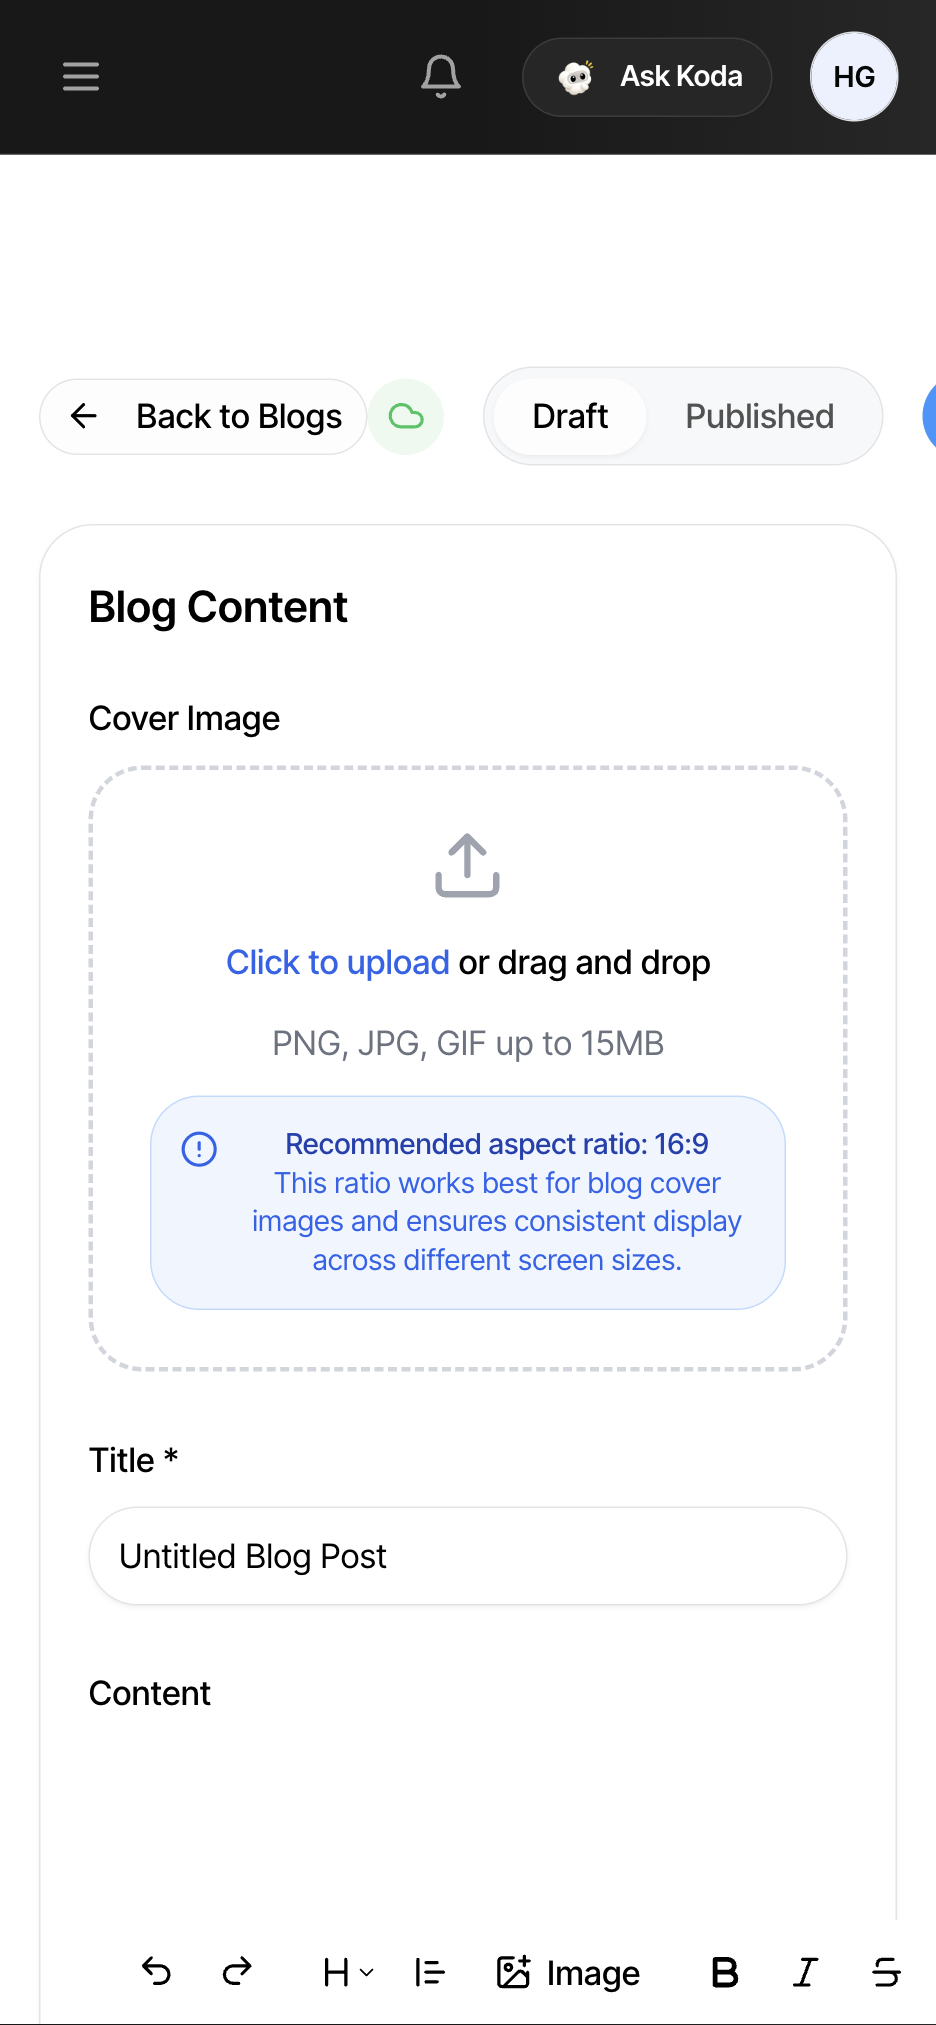
- Any normal picture file works. The 15 MB limit is real — bigger files are refused.
- Use a picture wider than it is tall — about twice as wide is ideal. A tall picture looks stretched on your blog page.
- Crop it on your own device first. There is no cropping tool here.
- Removing a cover picture deletes the file for good.
Step 4 — Write the title
Section titled “Step 4 — Write the title”The title is the only box you must fill in, up to 200 letters. The Slug box below it is the last part of the post’s web address.
Step 5 — Write the post
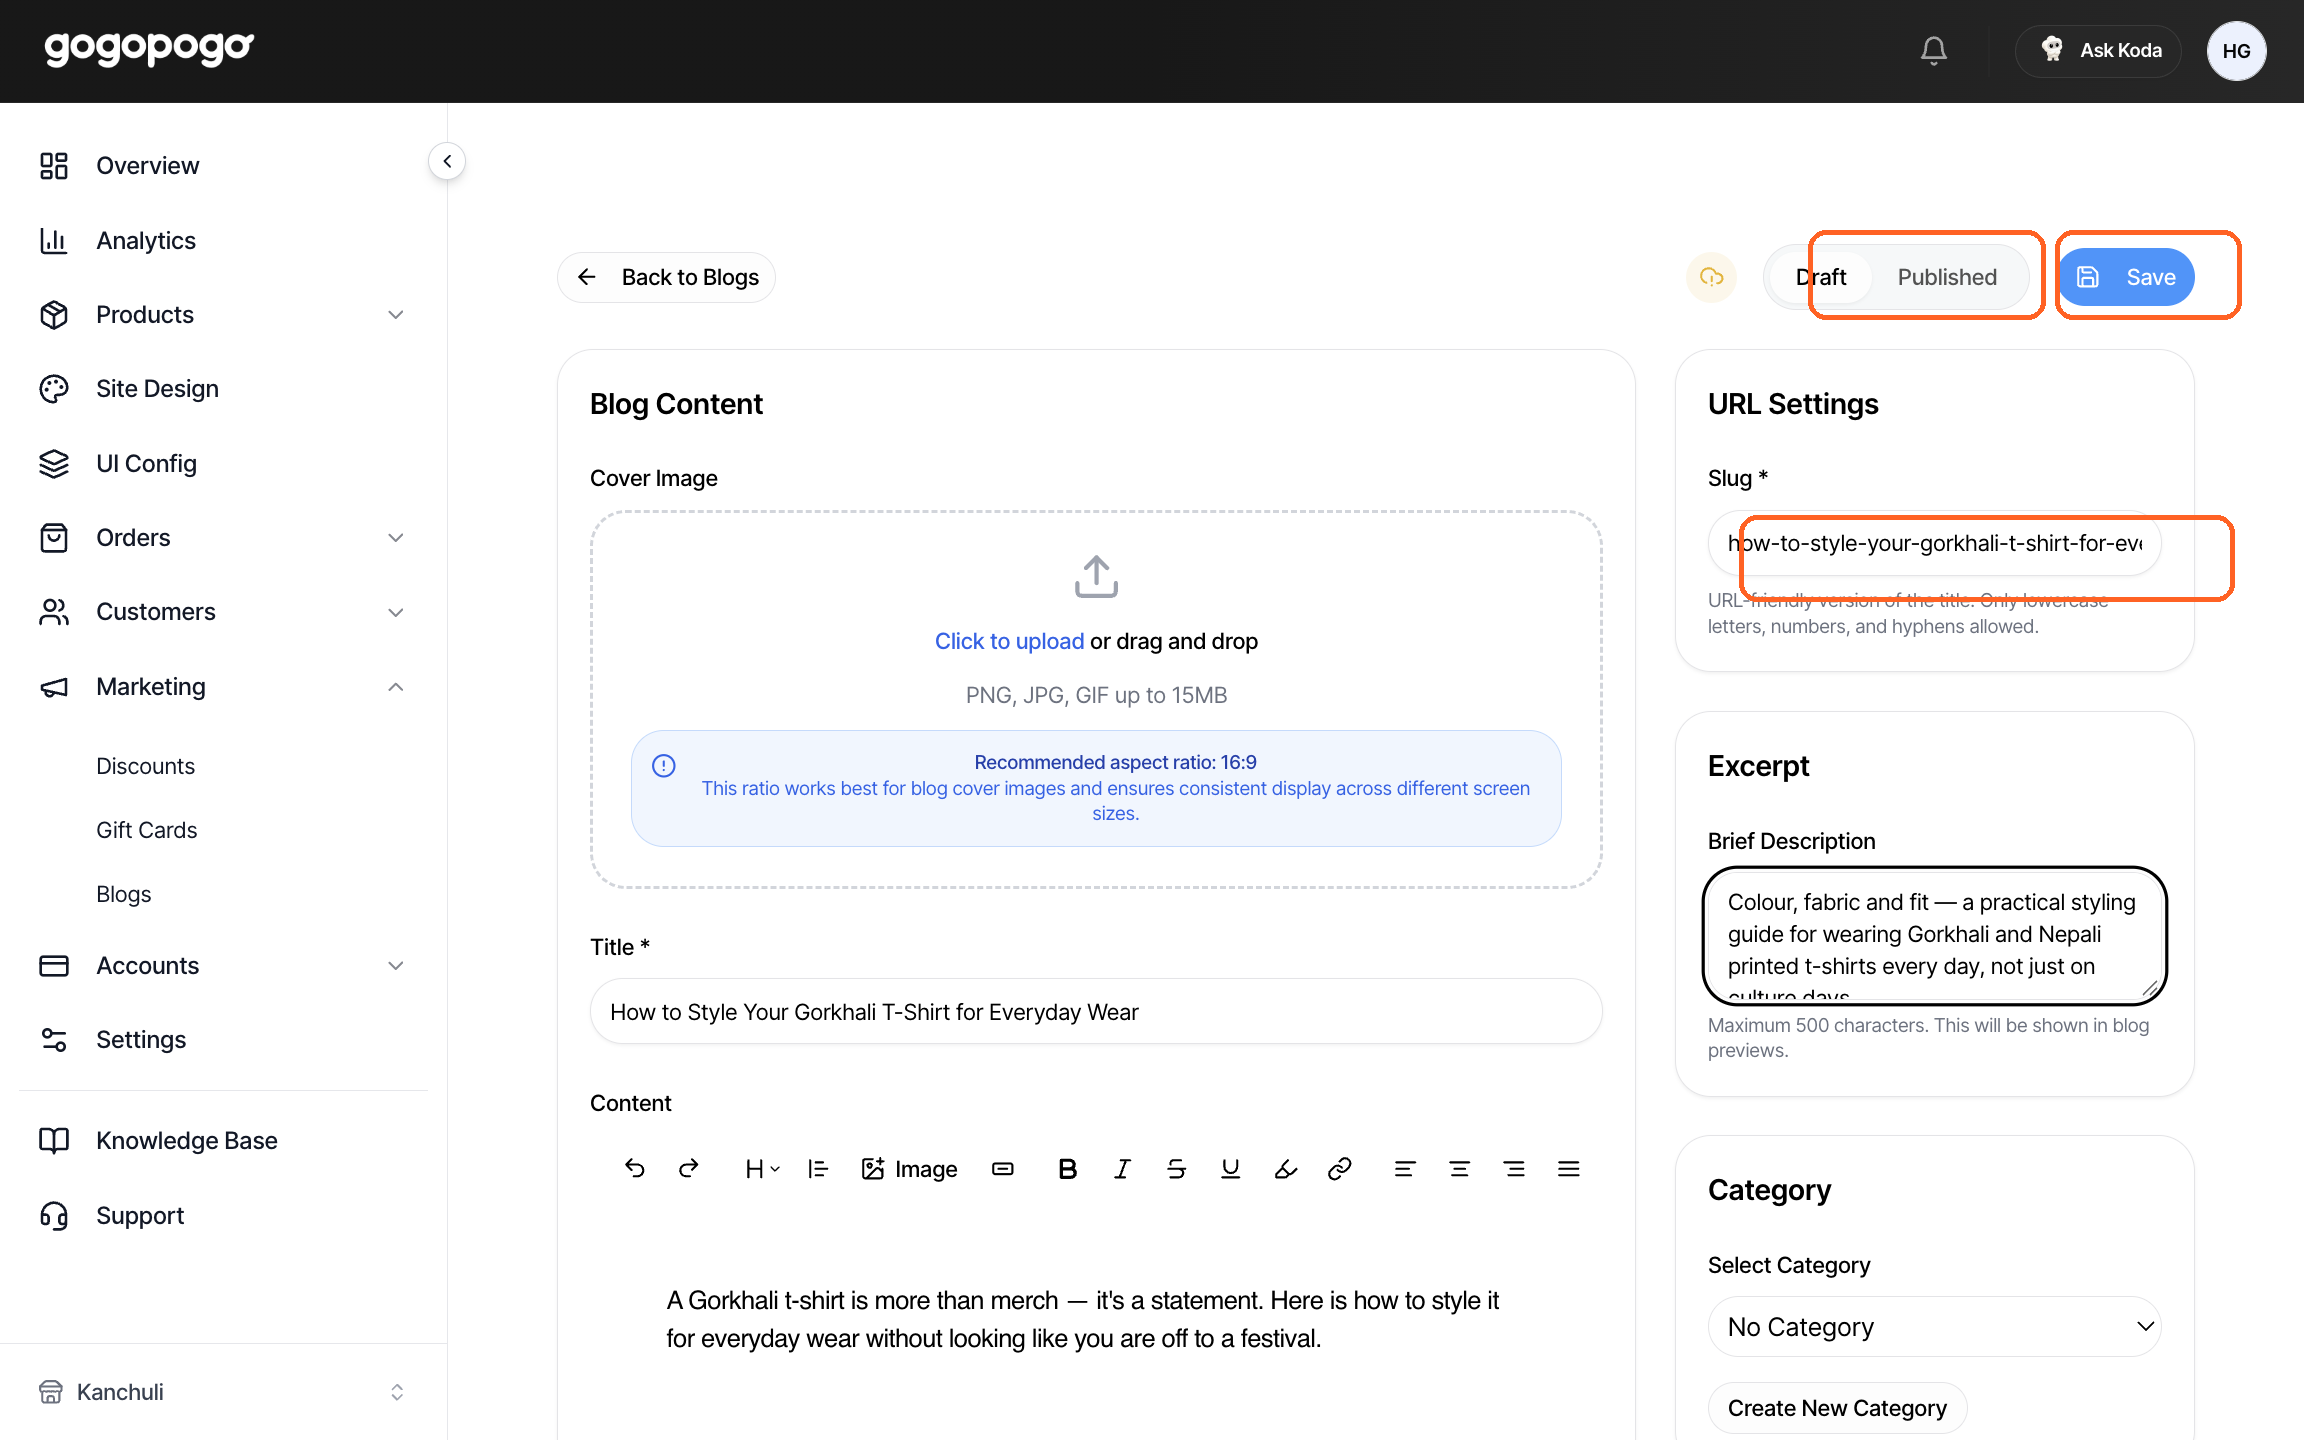
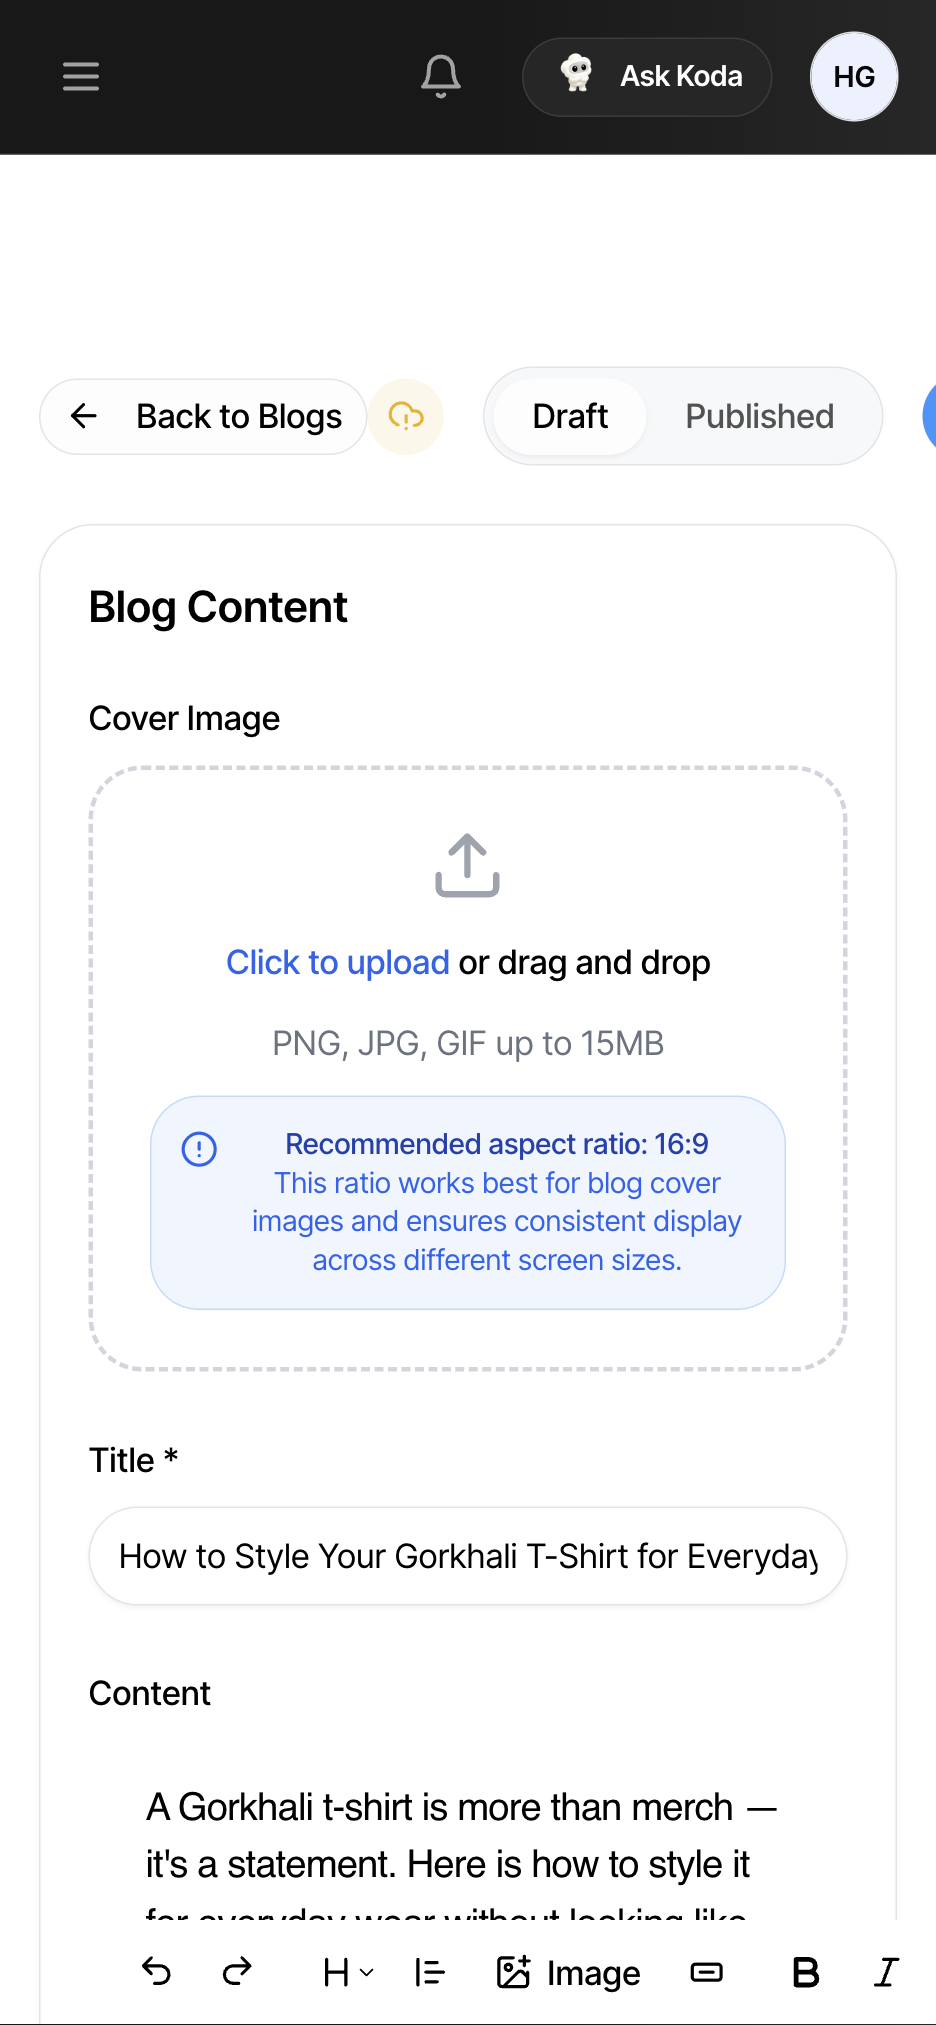
Section titled “Step 5 — Write the post”Everything in the text box is optional. The buttons above it:
| Button | What it does |
|---|---|
| Undo / Redo | Undo or redo your last changes |
| Heading | Four sizes of heading |
| Quote | A set-apart block for a quotation |
| Image | A picture inside your text |
| CTA button | A clickable button, for example to shop |
| B / I / S / U | Bold, italic, crossed-out, underlined |
| Highlighter | A colour behind the words you select |
| Link | Turns selected words into a link |
| Line up | Left, centre, right or full-width text |
- There are no bullet-point or numbered-list buttons. Type the dashes or numbers yourself and press Enter after each.
- Spelling is not checked and nothing is tidied up for you. No red lines, no capital letters added at the start of sentences. Read it through before you publish.
- Pictures inside your text have the same 15 MB limit, one at a time. Take one back out and save, and the file is deleted.
- Some symbols change while you type — two dashes and a greater-than sign can become an arrow. Check anything that must stay exactly as written.
Step 6 — The three boxes on the right
Section titled “Step 6 — The three boxes on the right”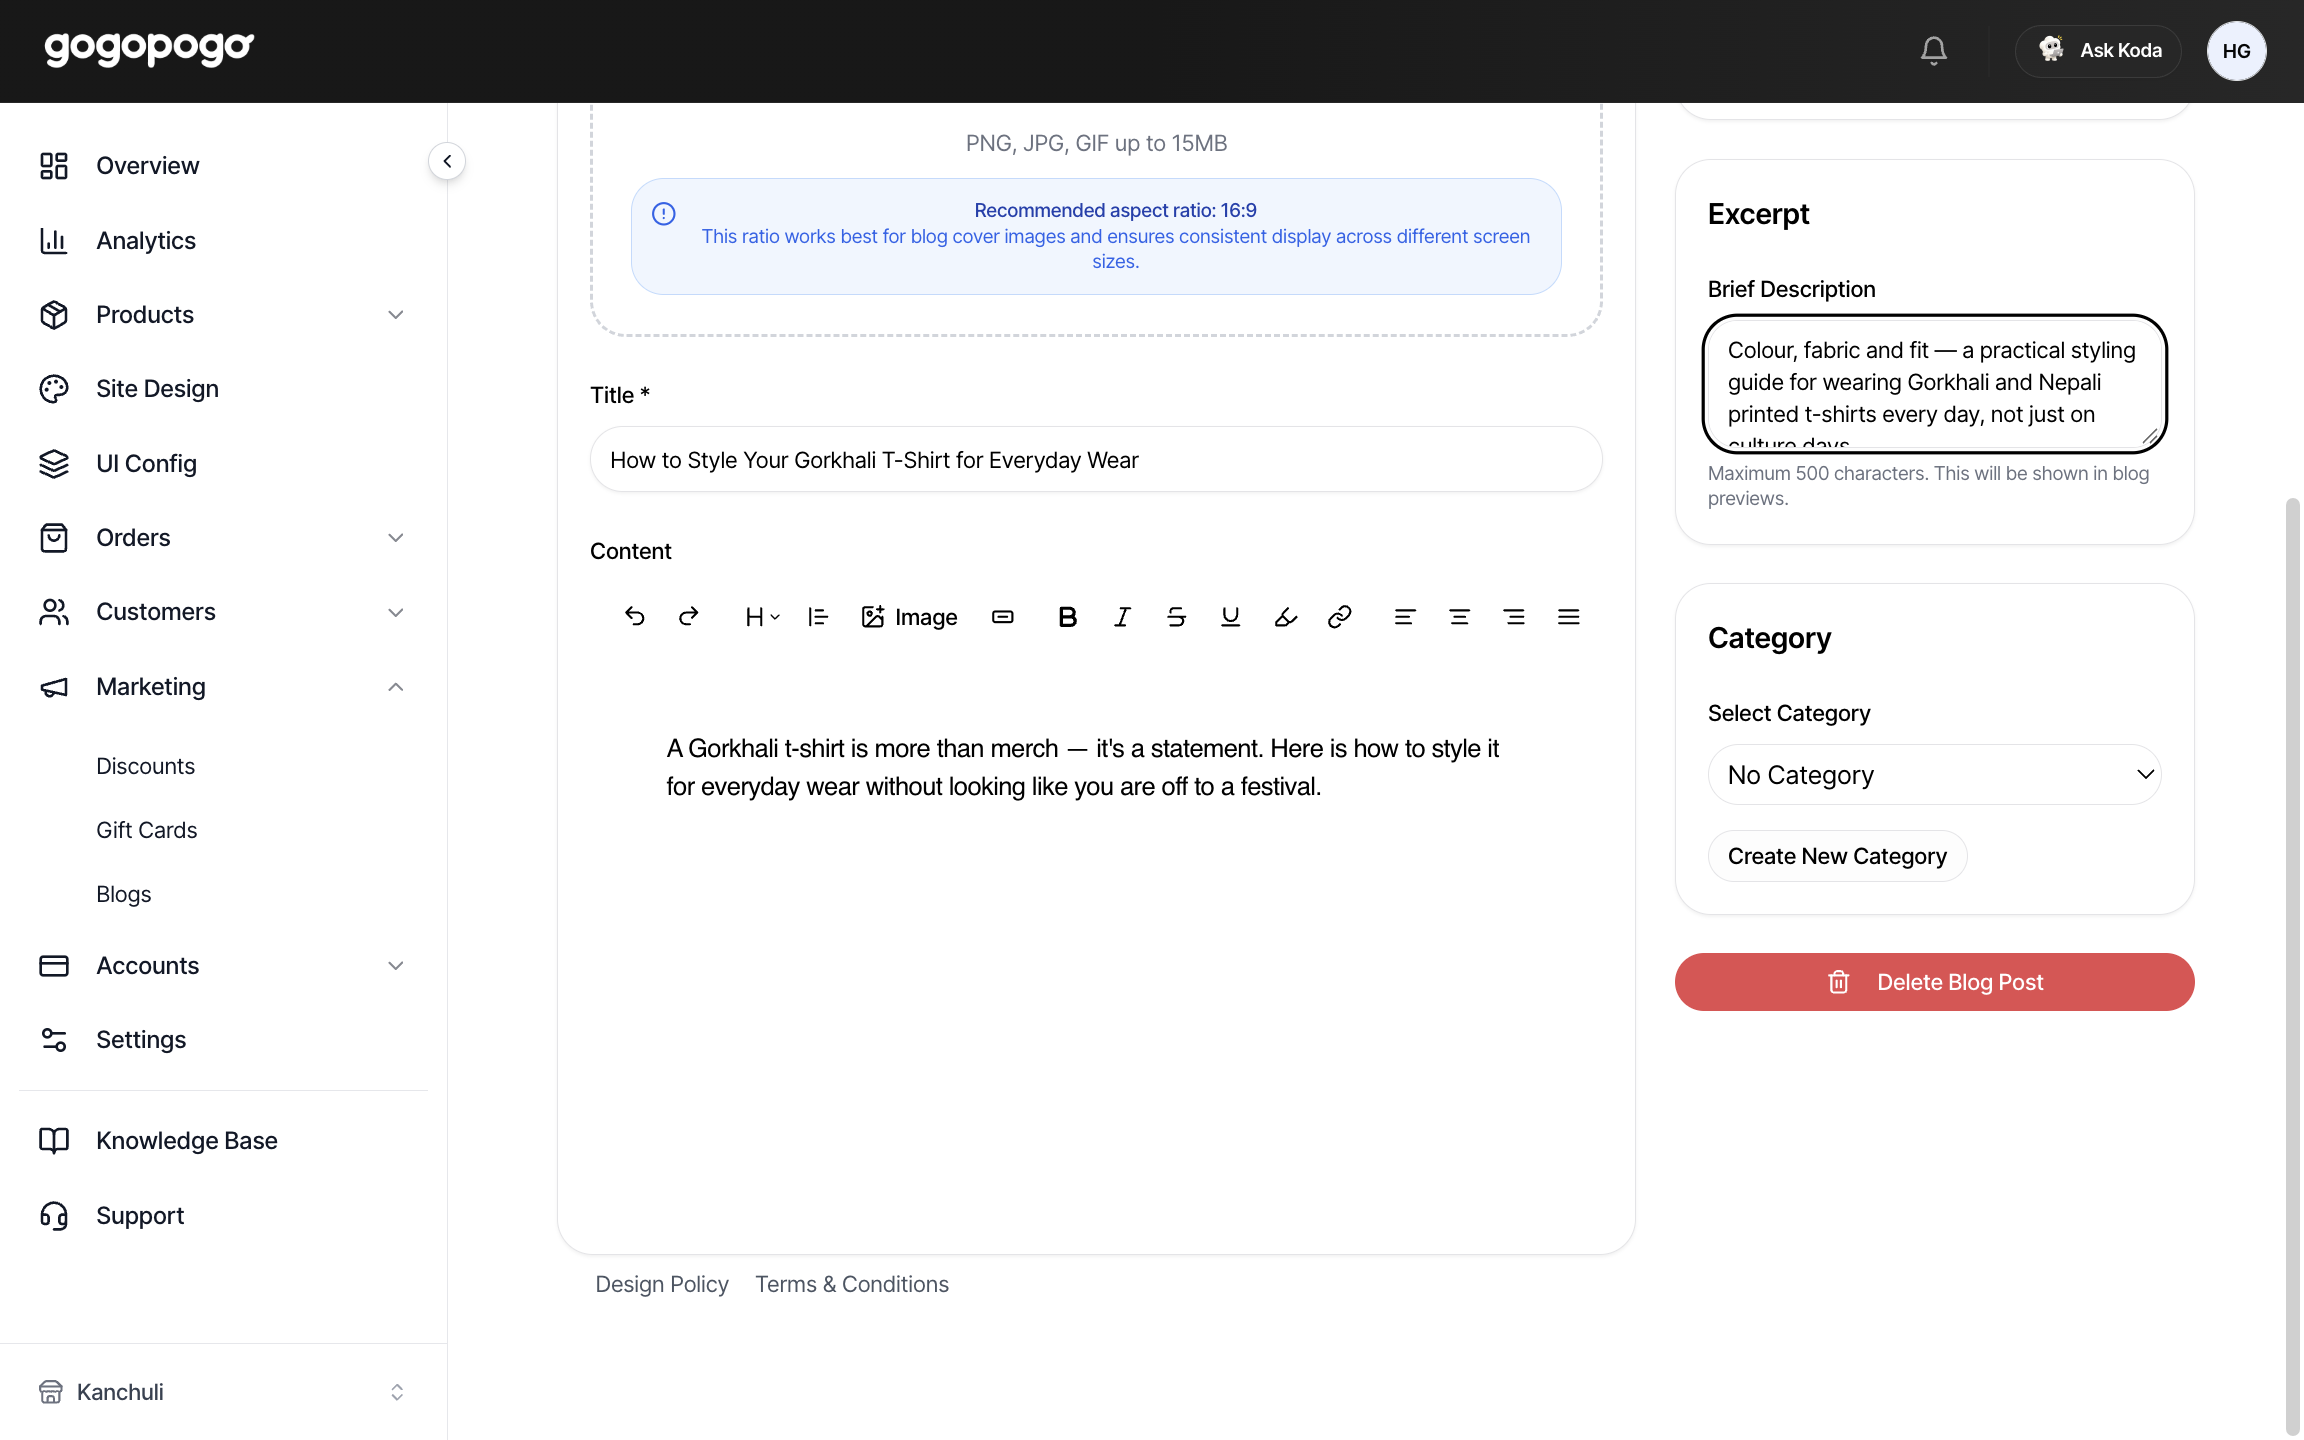
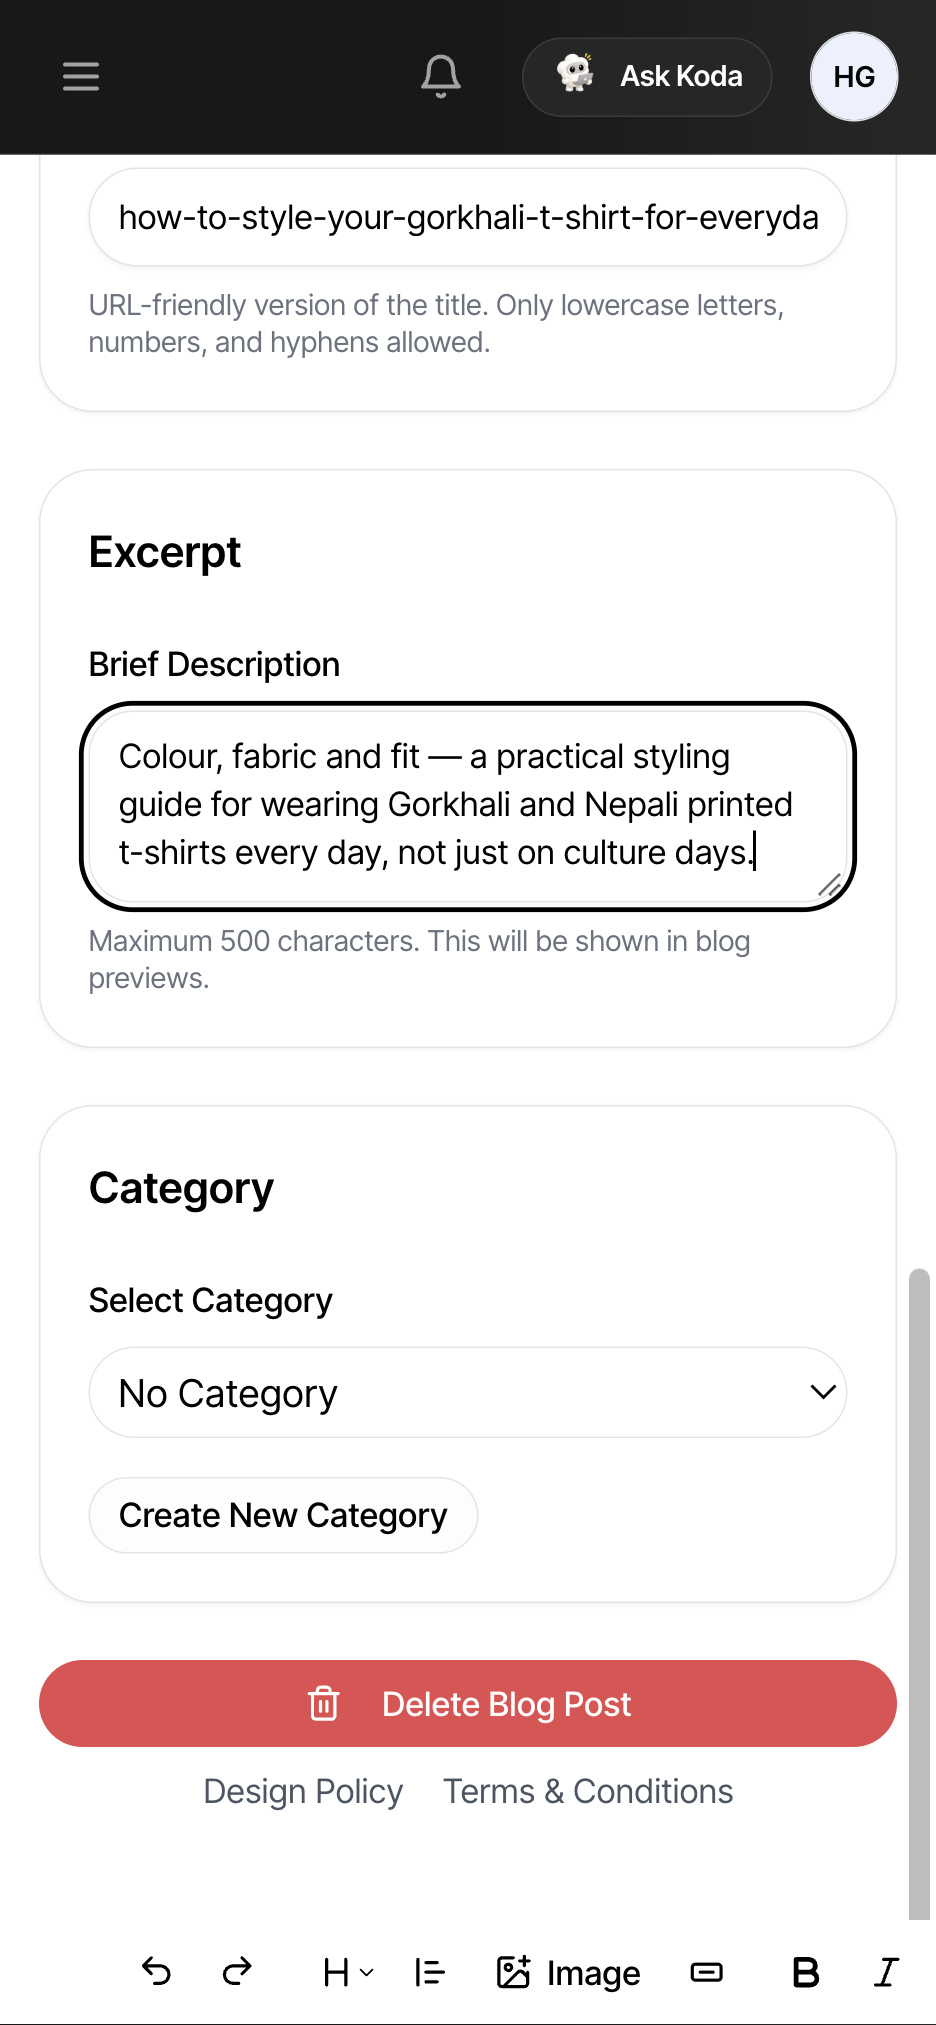
Slug — required. Small letters, numbers and dashes only. The box will not tidy up after you: type a capital letter, a space or an accent and it stays, and the post refuses to save. Two posts cannot share the same address.
Excerpt — optional, up to 500 letters. The short description under your title in previews.
Category — optional. See the next step.
None of these boxes count letters as you type. Go over a limit and nothing turns red — the post just refuses to save and tells you the limit.
Step 7 — Choose a category, if you want one
Section titled “Step 7 — Choose a category, if you want one”Categories are optional, and No Category is the default. Create New Category adds one without leaving the post.
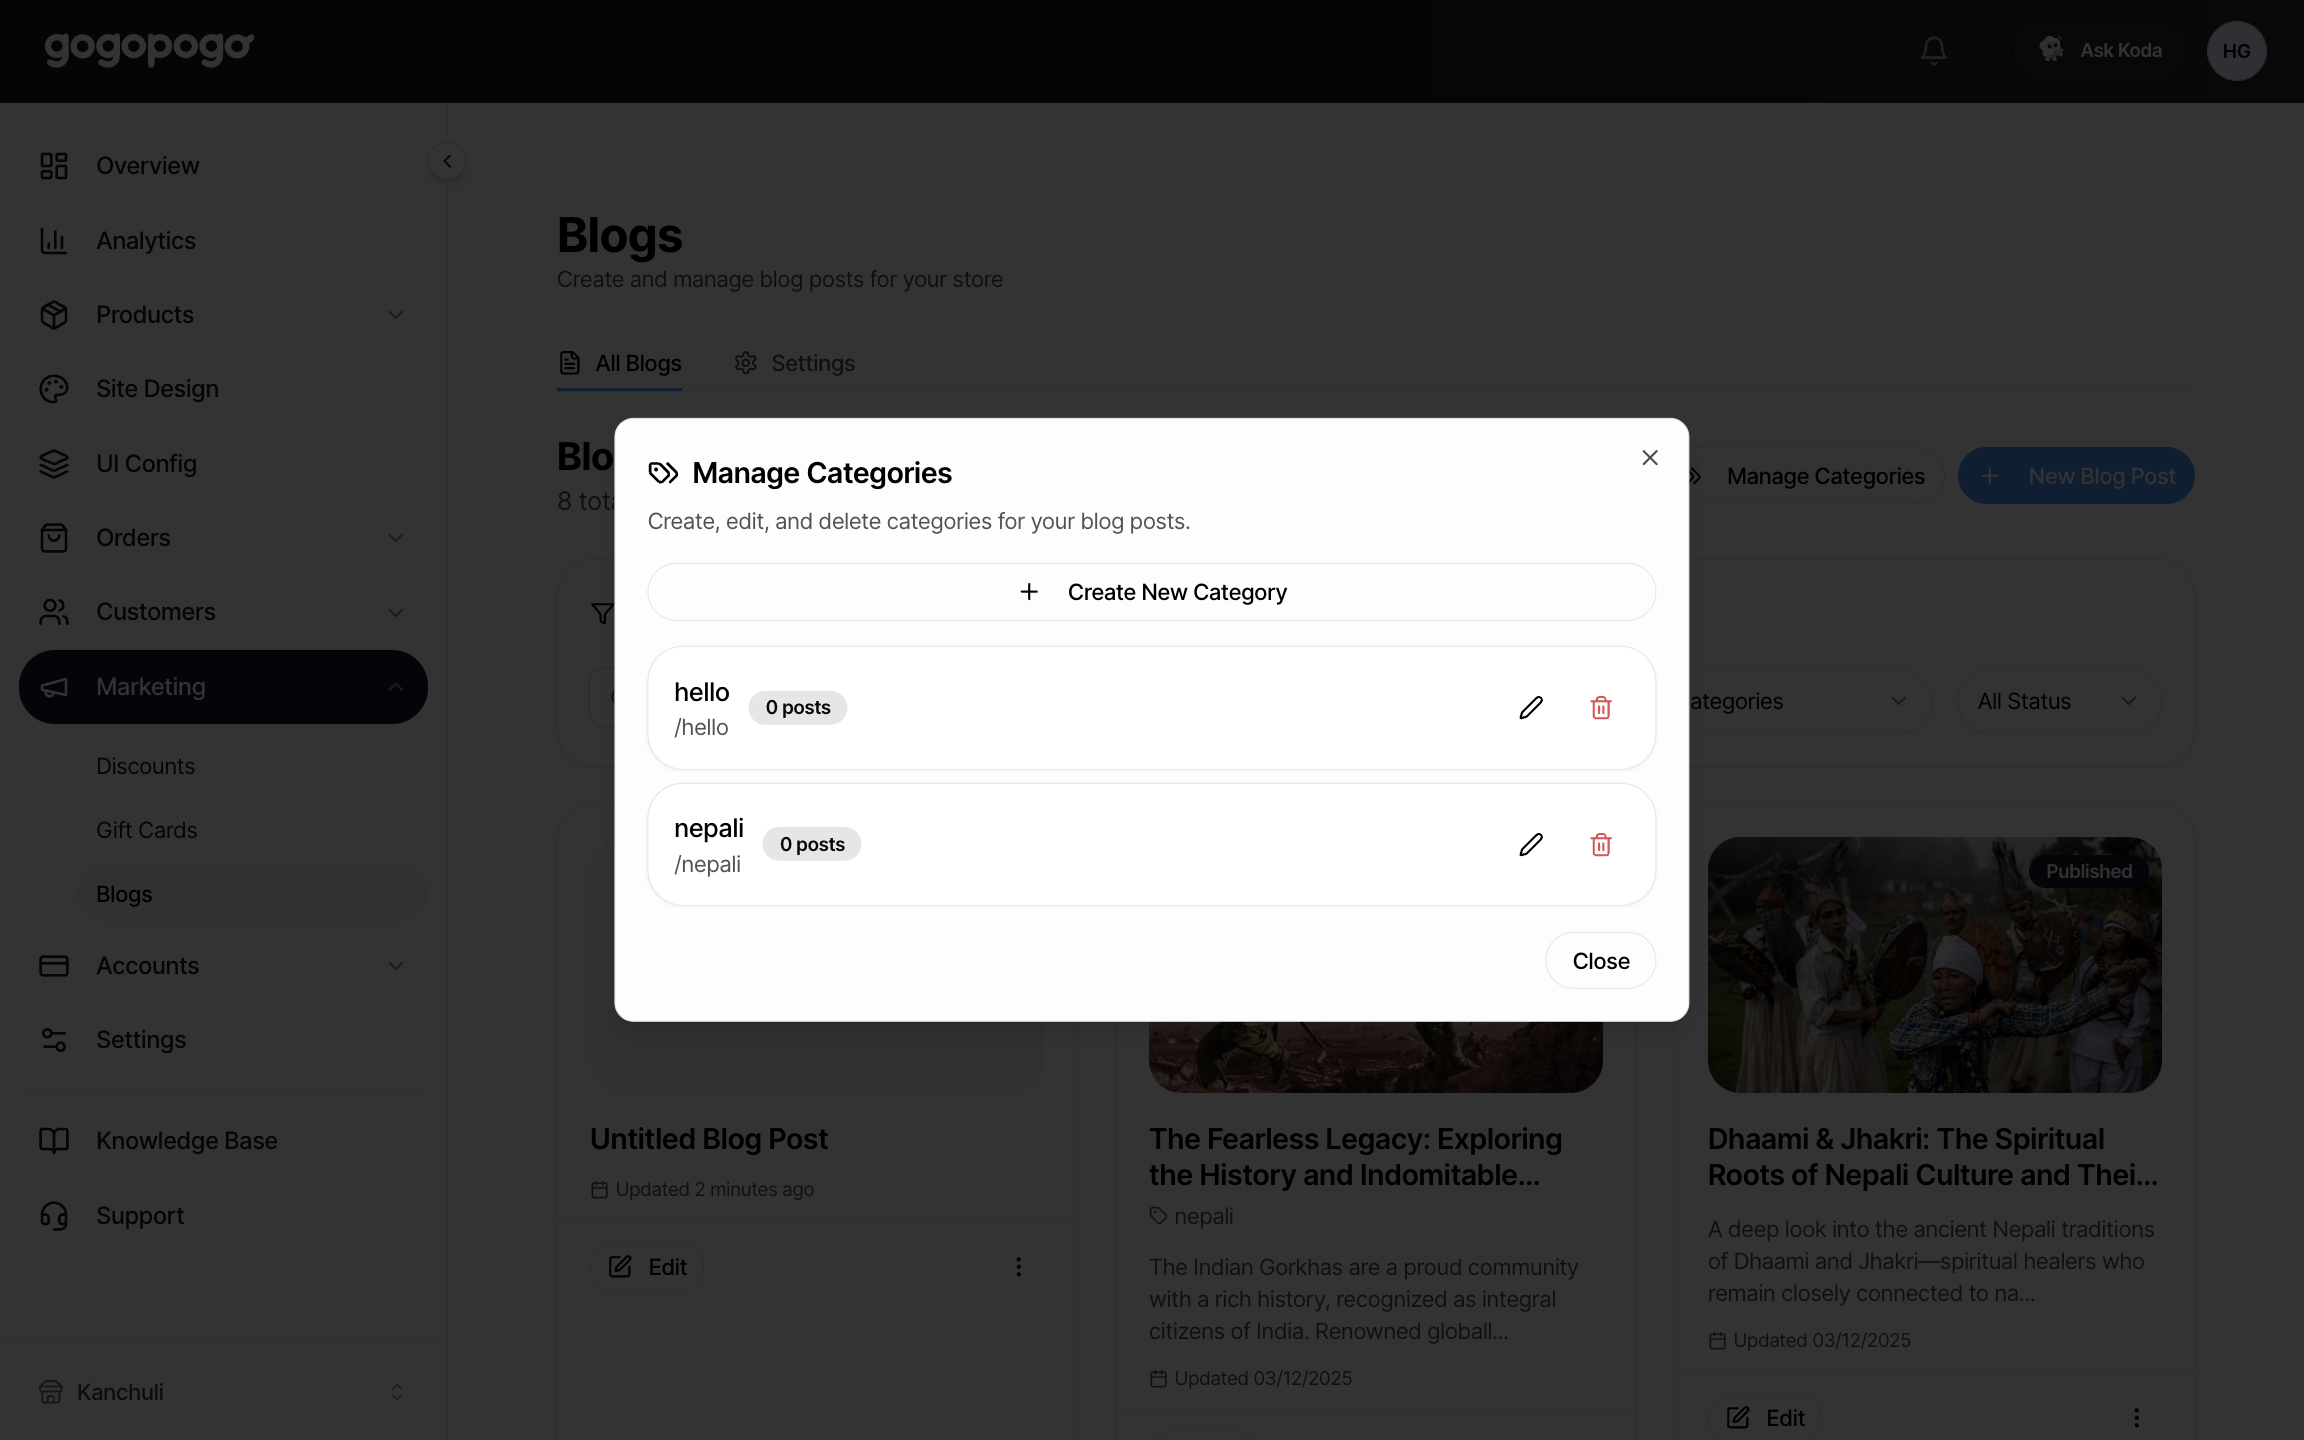
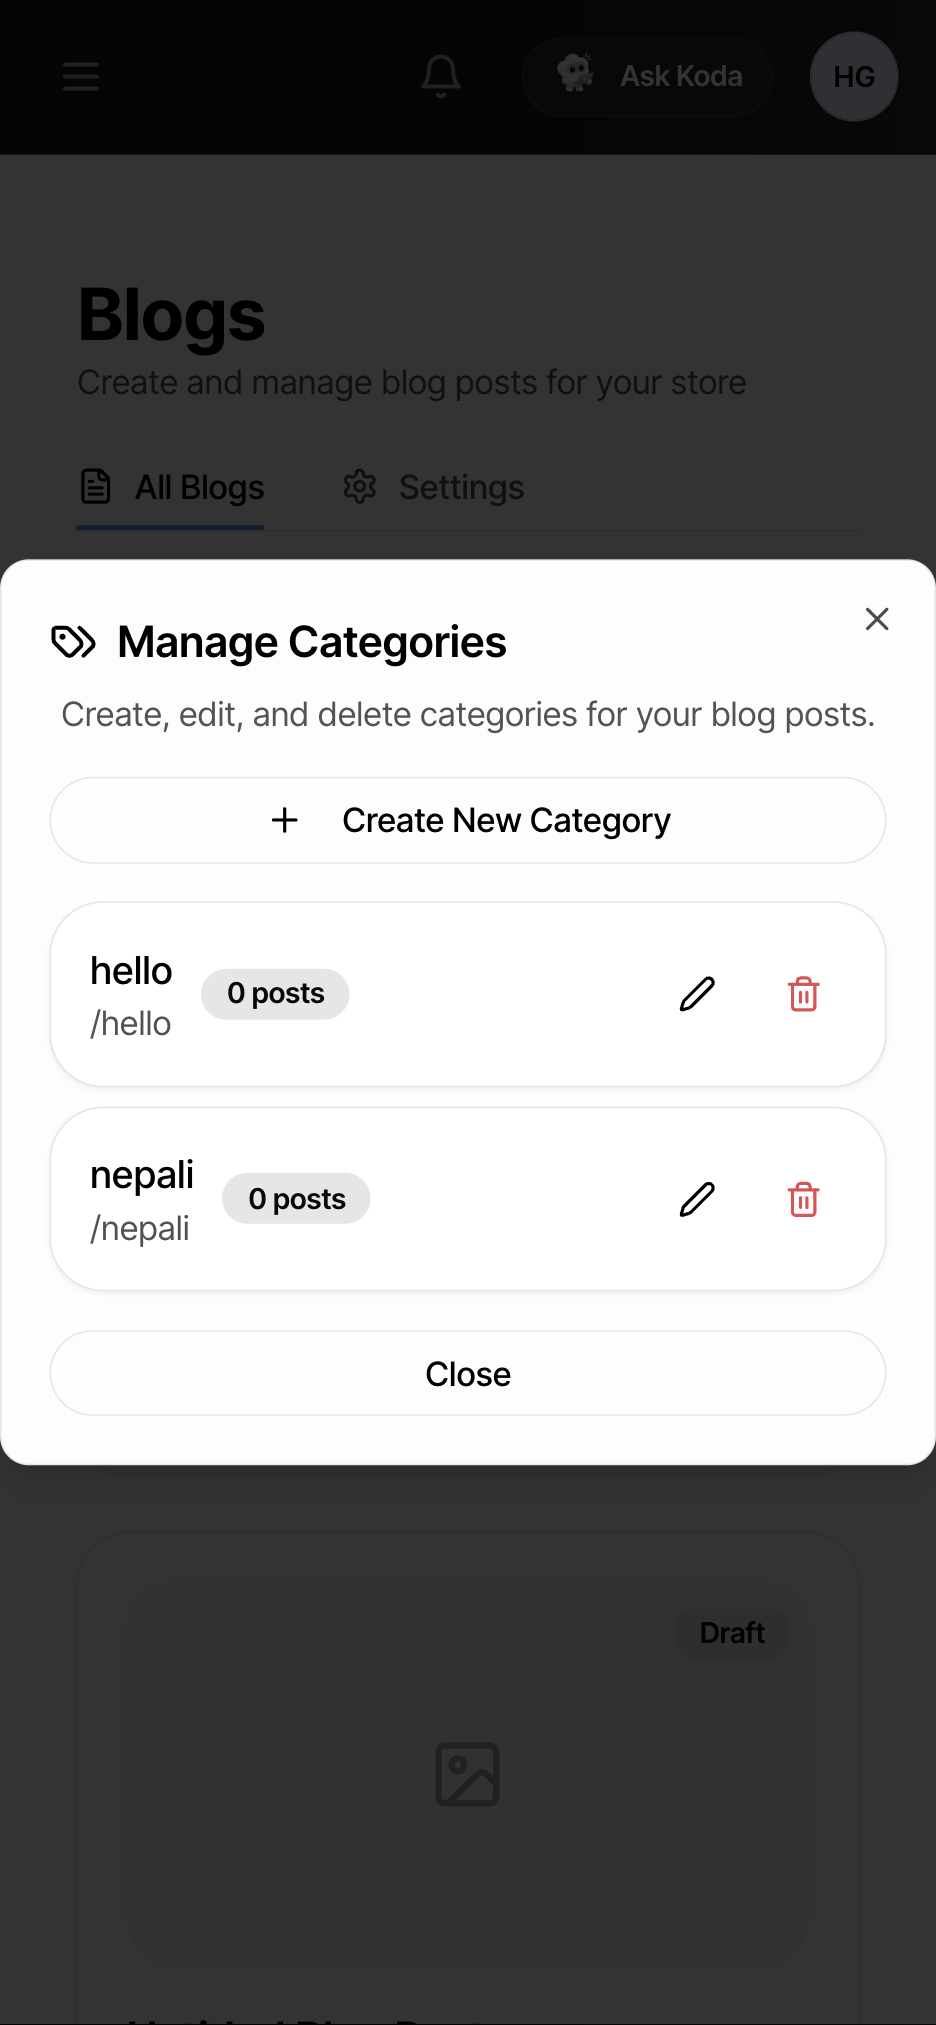
You cannot delete a category while any post is using it, draft or published. The bin button is greyed out. Move those posts first.
Step 8 — Save, then put it live
Section titled “Step 8 — Save, then put it live”Draft / Published sits next to Save. On a post that already exists, clicking either side saves straight away. On a brand-new post, the switch only records your choice — press Save.
Green cloud = saved. Yellow cloud = changes not saved. Nothing saves itself and you get no warning if you leave the page, so check that cloud.
Save does nothing while something is missing. No title or no web address and the button is dead — and the dashboard only tells you what is wrong when you try to save. If Save will not respond, check the title and address first.
Step 9 — What your customers see
Section titled “Step 9 — What your customers see”Published posts live at:
https://your-store-website.com/blogs/your-web-address- Drafts show a “page not found” error, not a “coming soon” page.
- Your blog list is ordered by when posts were created, not published. Publishing an old draft does not push it to the top.
- Google uses the blog title and summary from the next section.
- Category pages and “related posts” only list published posts.
Blog settings (the whole blog)
Section titled “Blog settings (the whole blog)”The Settings tab.
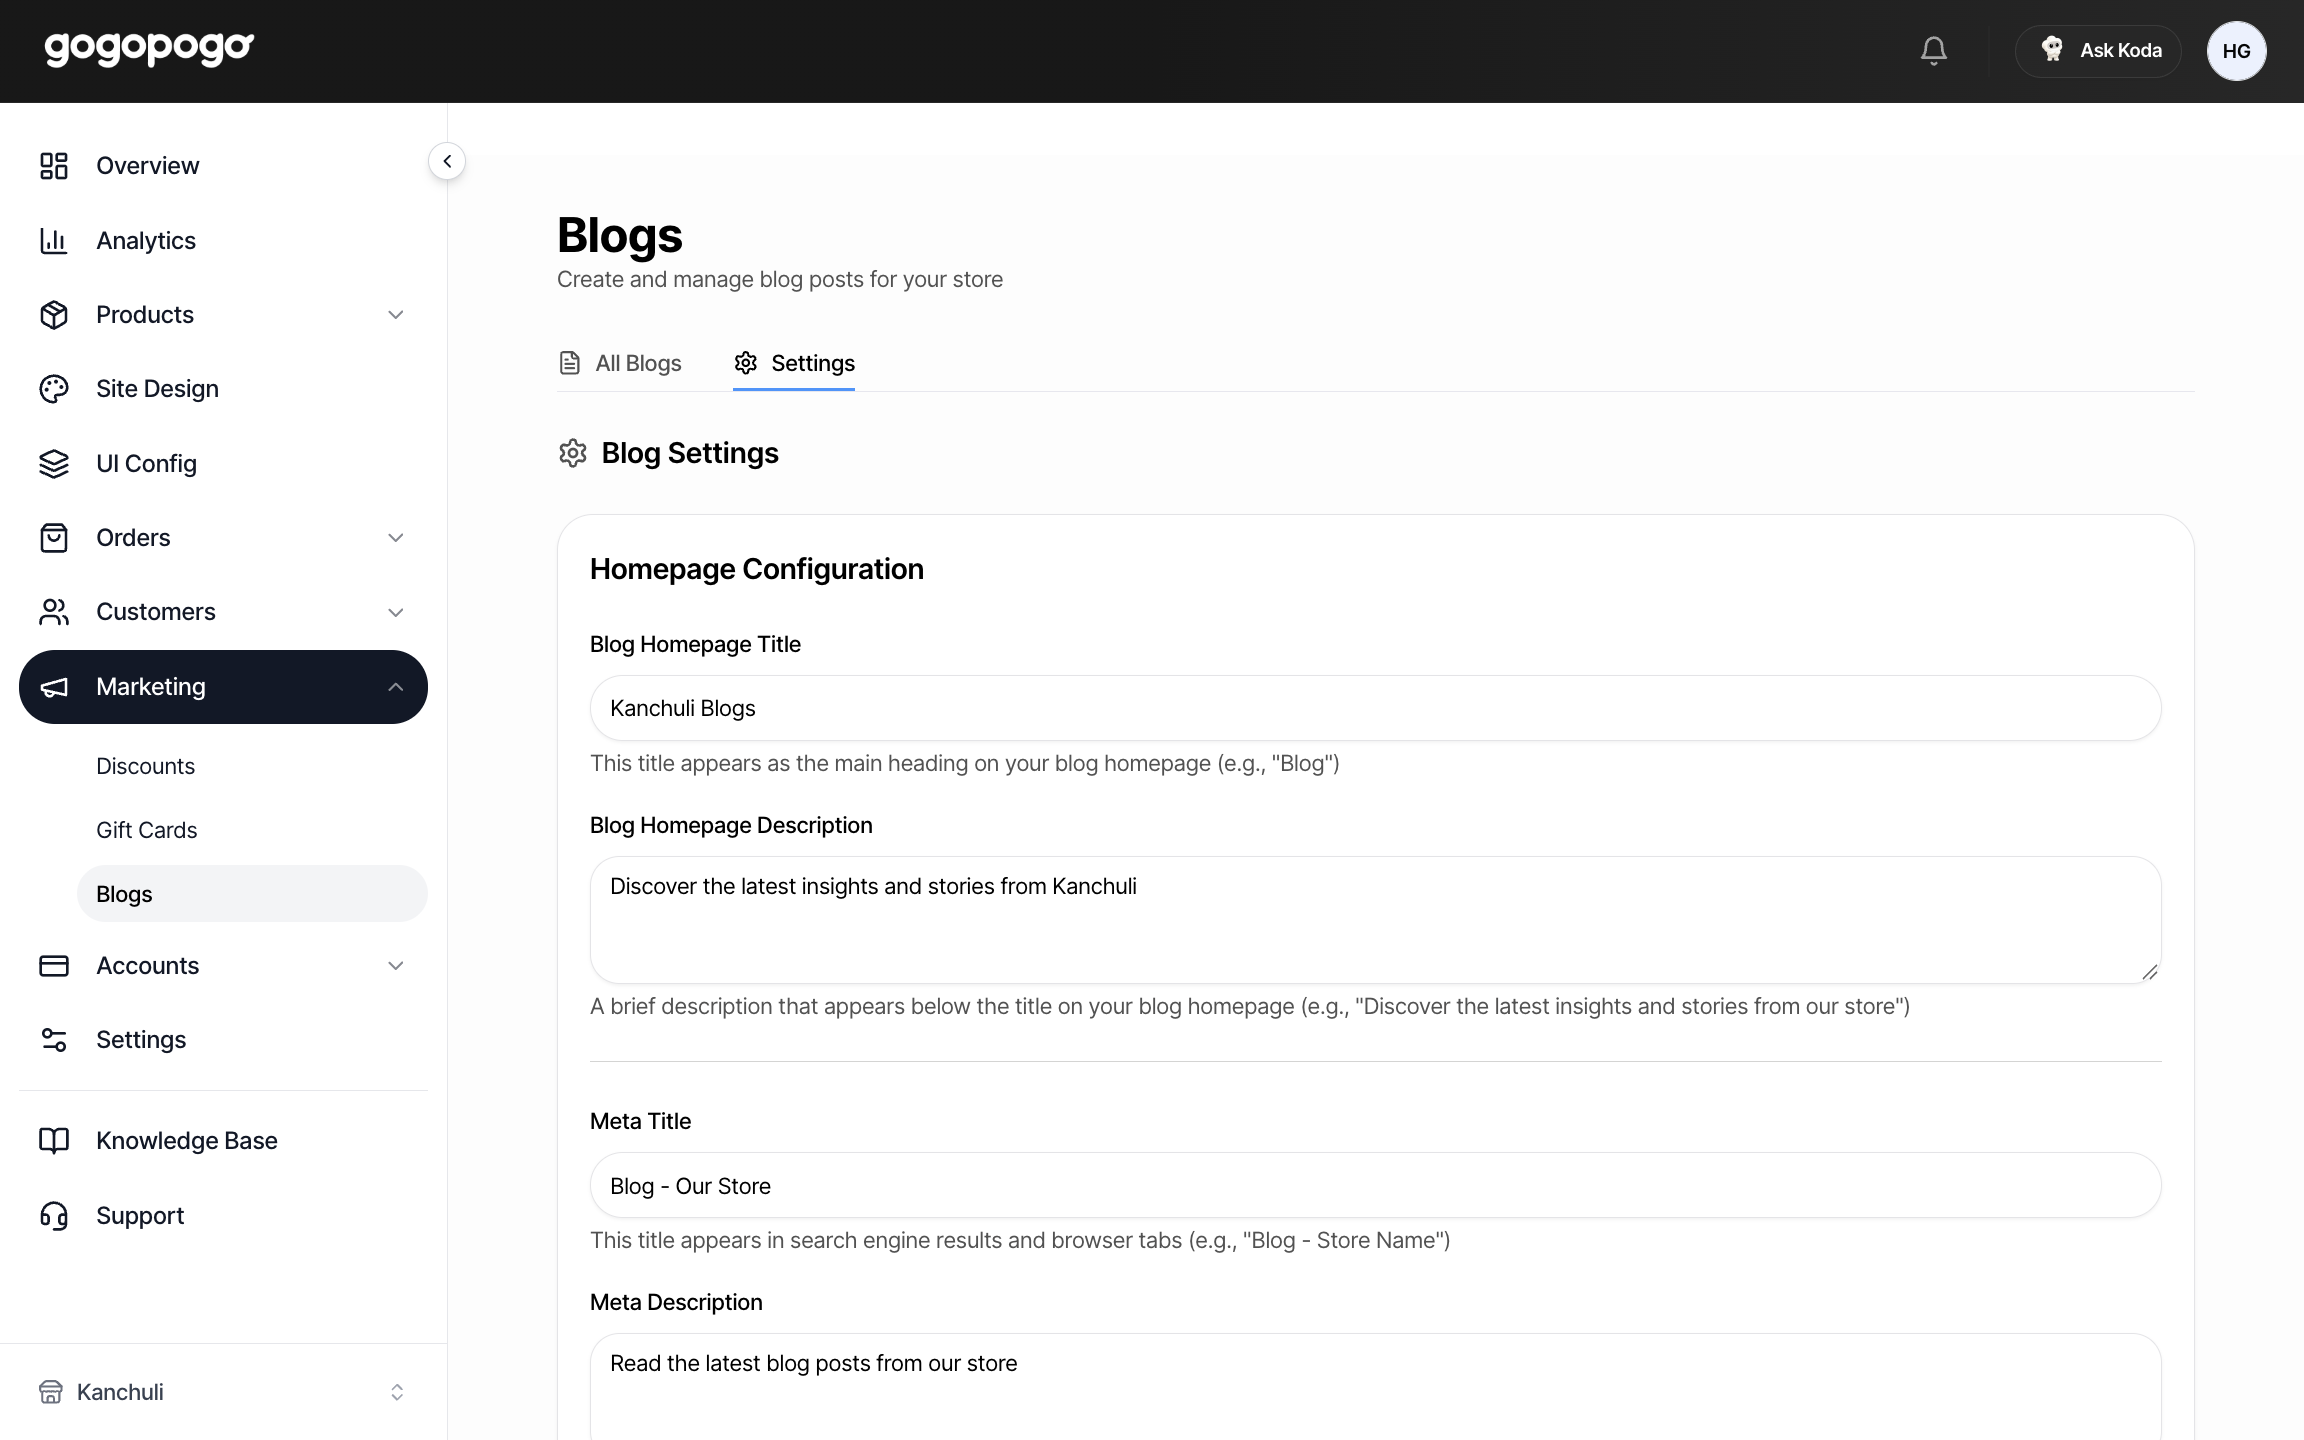
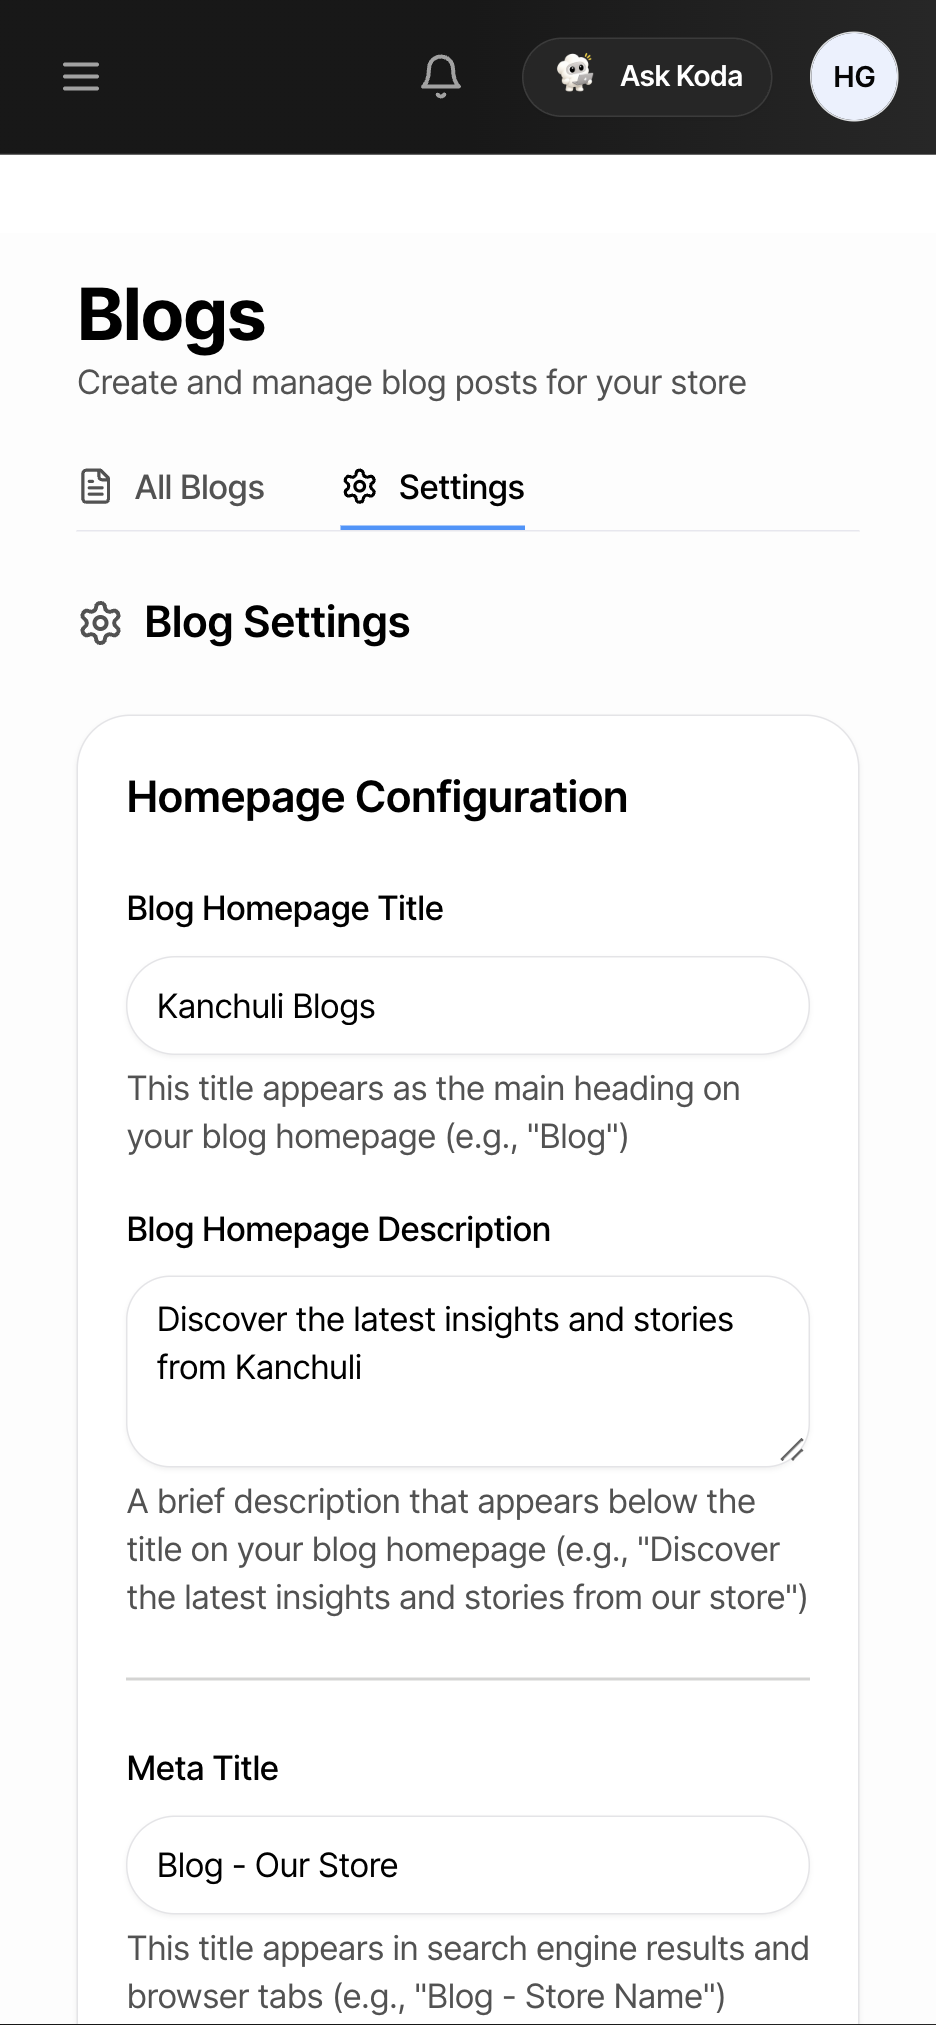
- Blog Homepage Title — the big heading on your blog’s front page
- Blog Homepage Description — the line under it
- Meta Title — the title Google shows in search results and browser tabs
- Meta Description — the summary under that title
No setting here hides a single post, schedules a post for later, or changes how many posts show per page.
Managing categories
Section titled “Managing categories”Manage Categories opens the full list for your store. Each one shows how many posts use it.
Deleting a post
Section titled “Deleting a post”Delete Blog Post at the bottom of the editor.
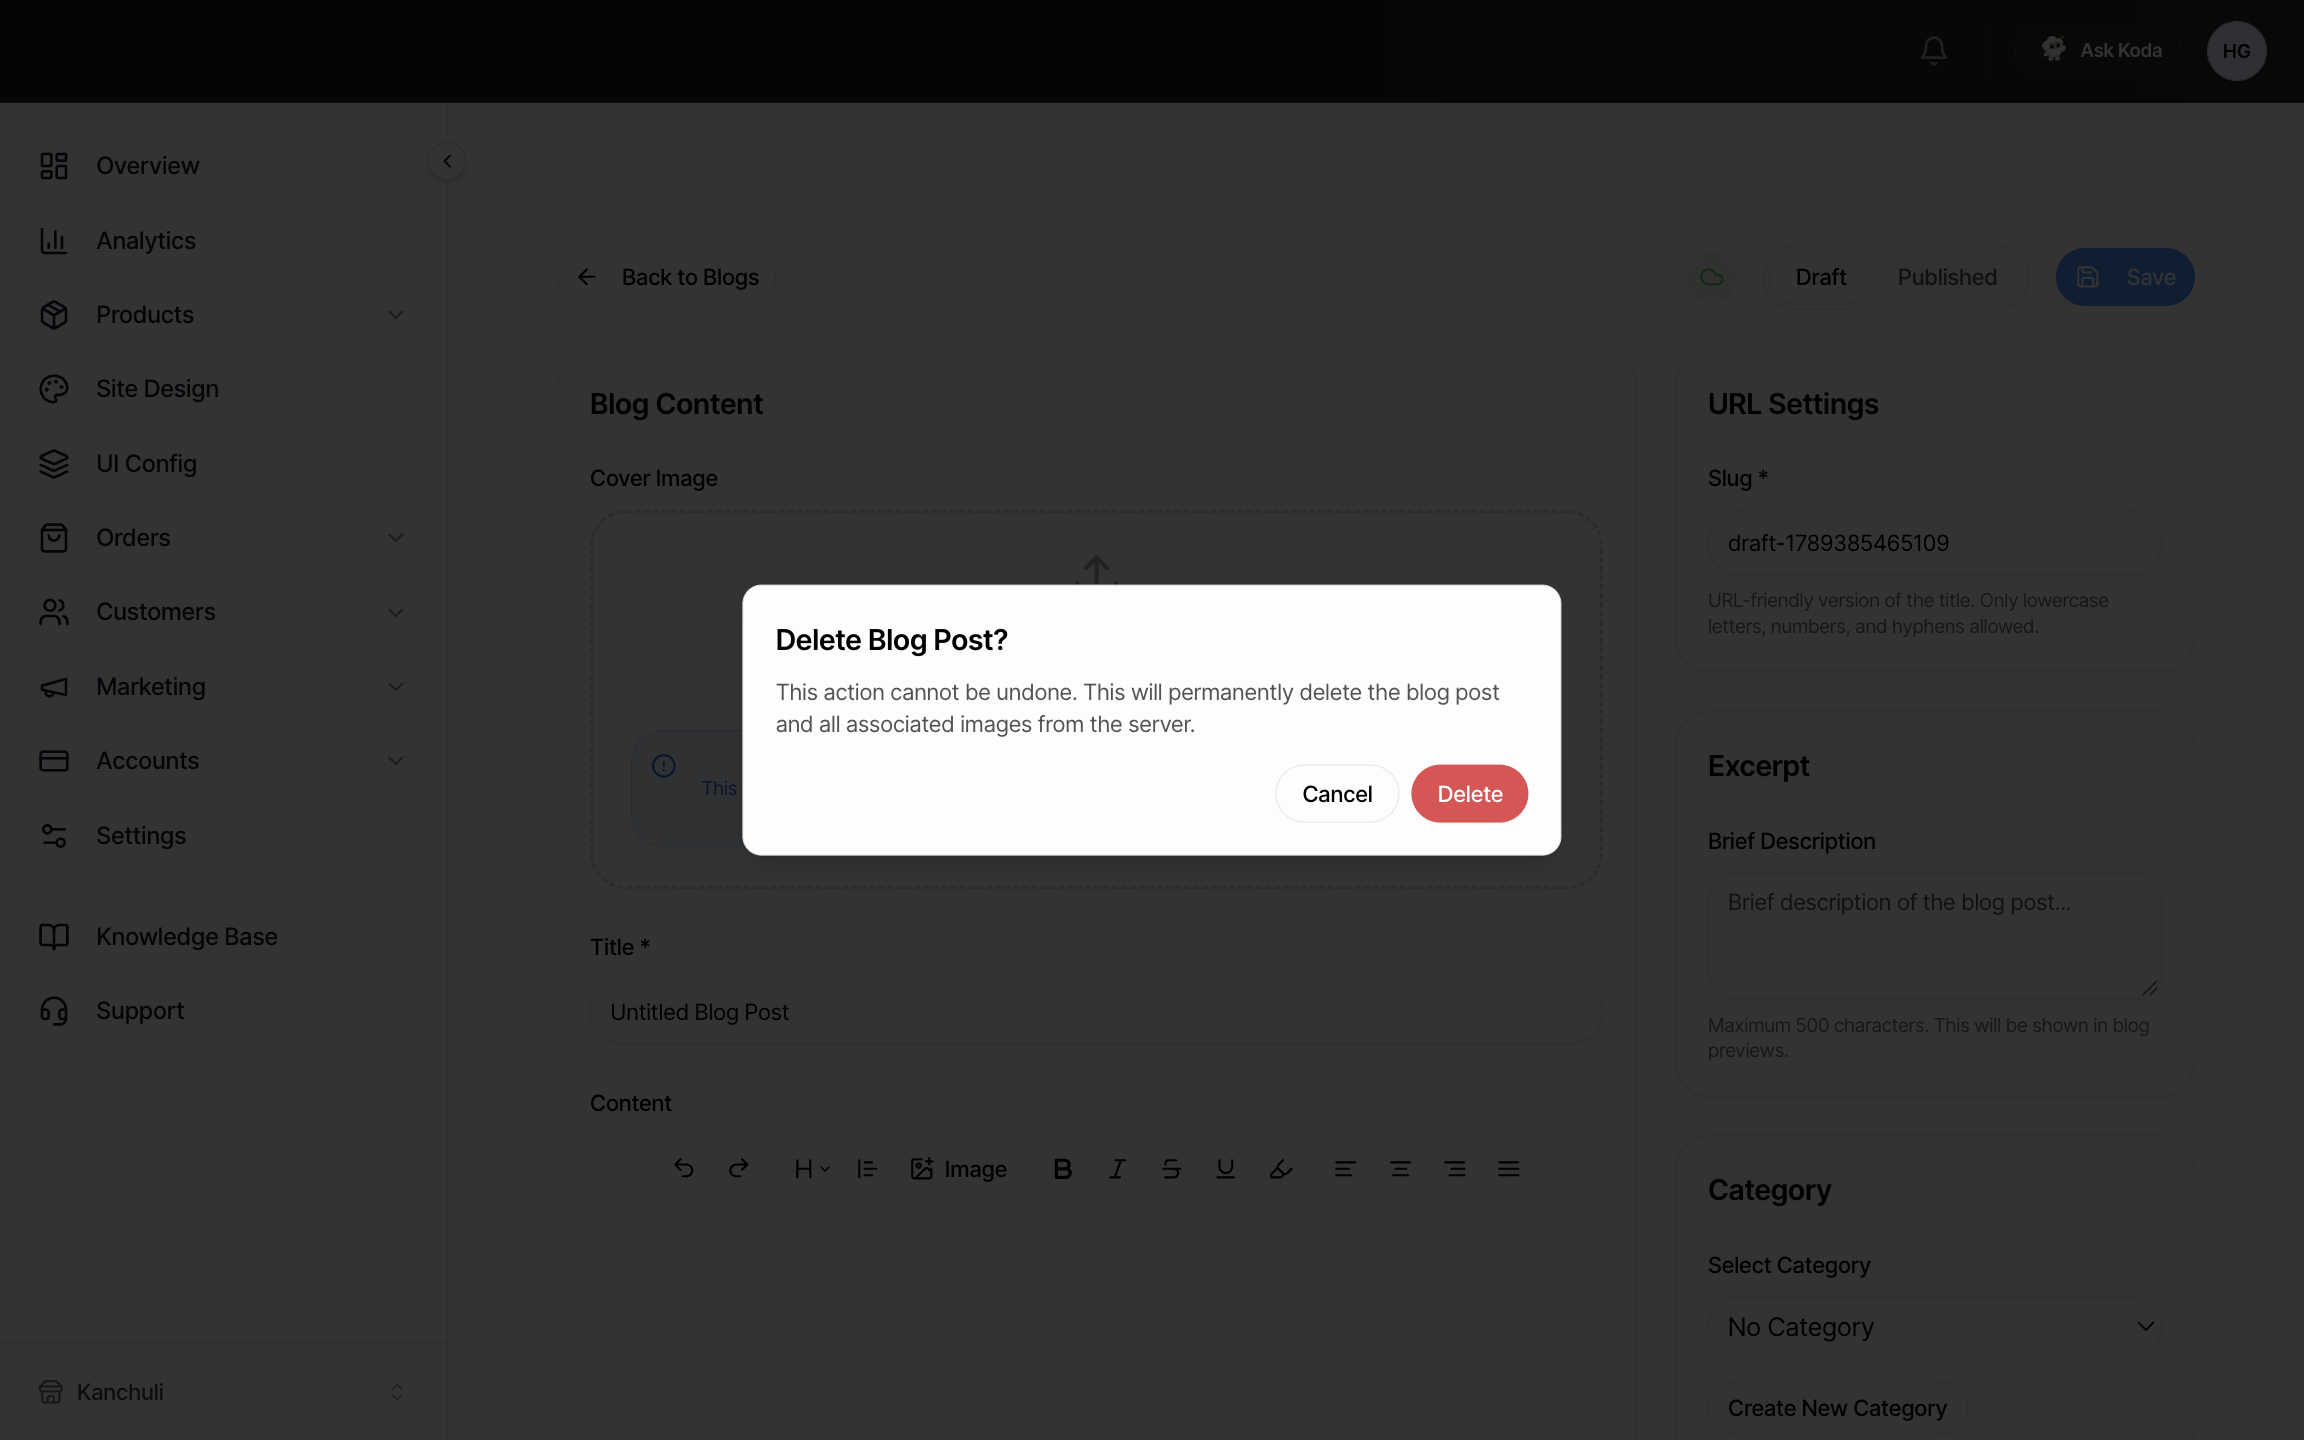
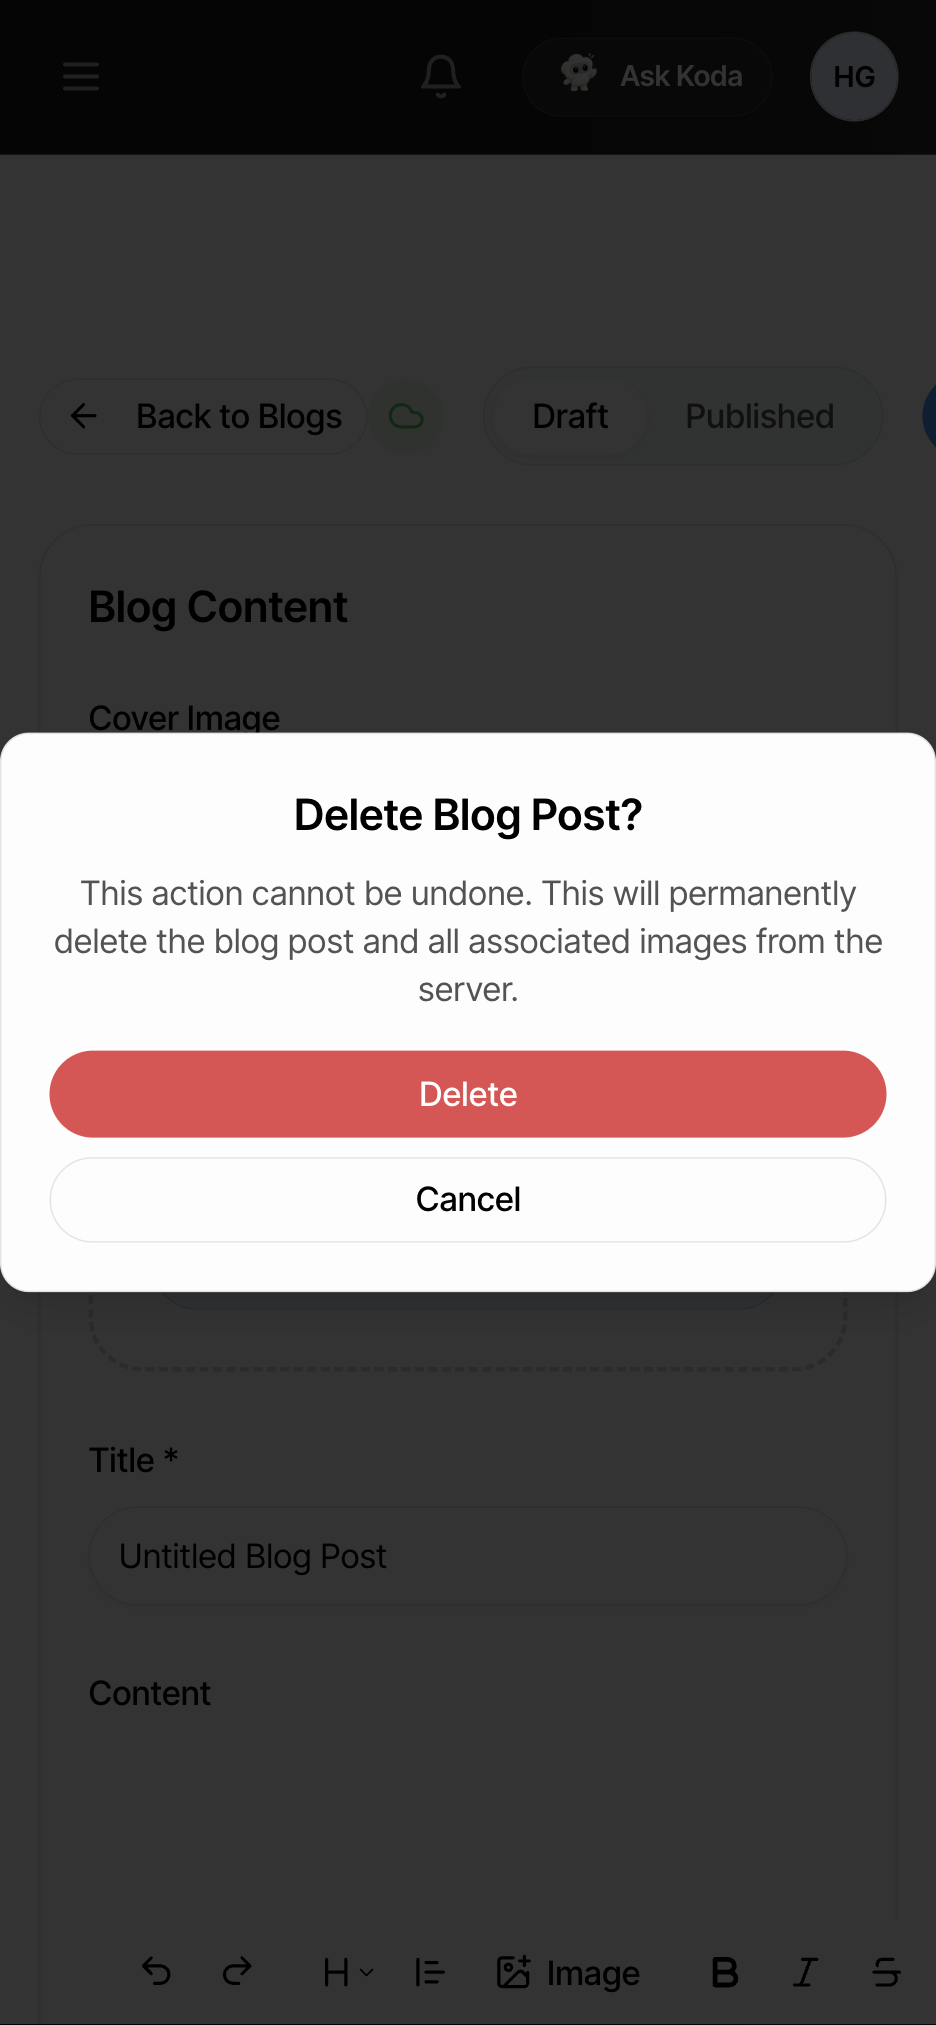
No undo and no bin. Download any artwork you want to keep before you delete the post.
Quick checklist
Section titled “Quick checklist”- Owner, Editor or SubAdmin role?
- Cover picture wider than it is tall, under 15 MB?
- Title filled in, under 200 letters?
- Already published? Did you put the web address back the way it was?
- Web address small letters, numbers and dashes only, and not already used?
- Short description under 500 letters?
- Cloud green, not yellow?
- Switched to Published, not left as a Draft?
Who can access this
Section titled “Who can access this”Can access: Owner Editor SubAdmin
Cannot access: Staff