
How to Start Your GogoPogo Store in 15 Minutes
If you’re ready to start selling your own custom products, GogoPogo makes the process simple and fast. In this guide, we’ll walk you through each step, from creating your account to publishing your store, using clear screenshots so you can follow along and launch confidently.
By the end of this tutorial, your store will be live and ready to share with your audience.
Step 1: Sign Up to GogoPogo Platform
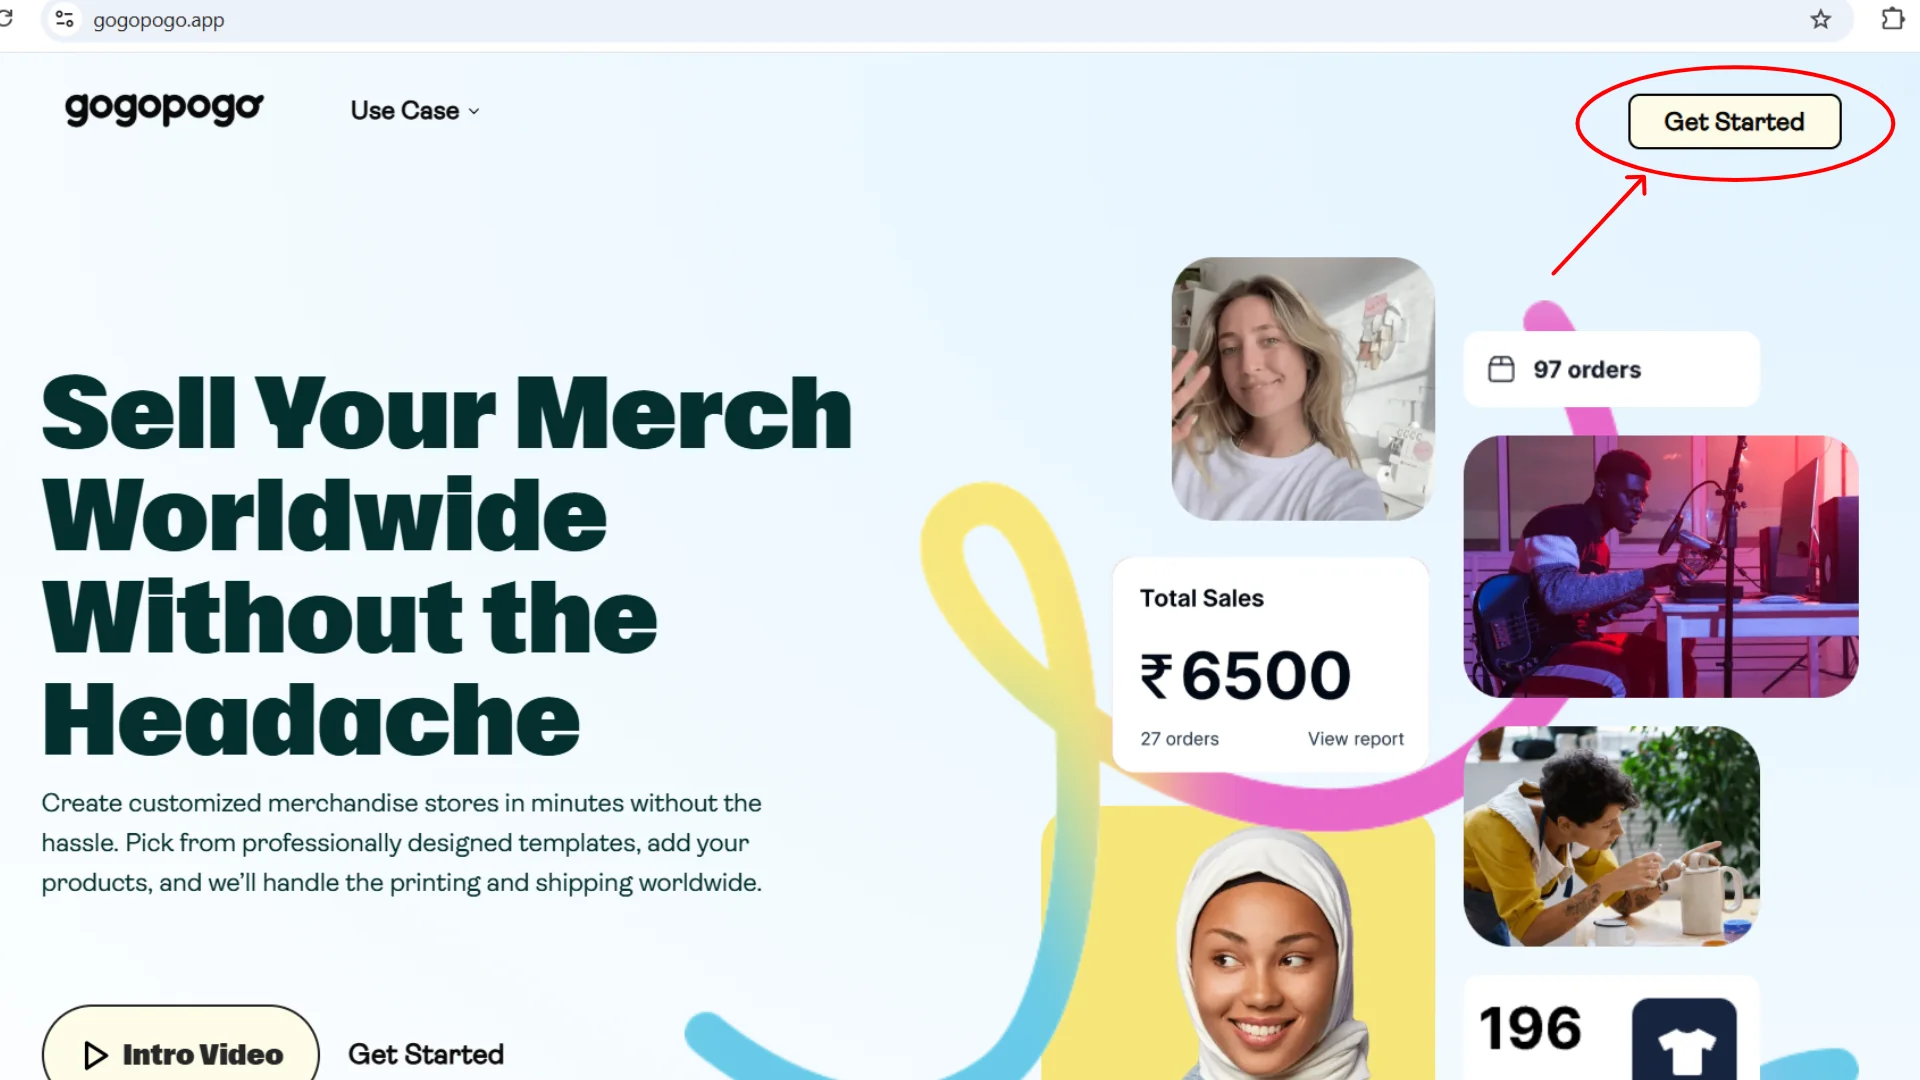
Section titled “Step 1: Sign Up to GogoPogo Platform”Go to https://www.gogopogo.app/.
You’ll see the homepage with a Get Started button. Click Get Started to begin.
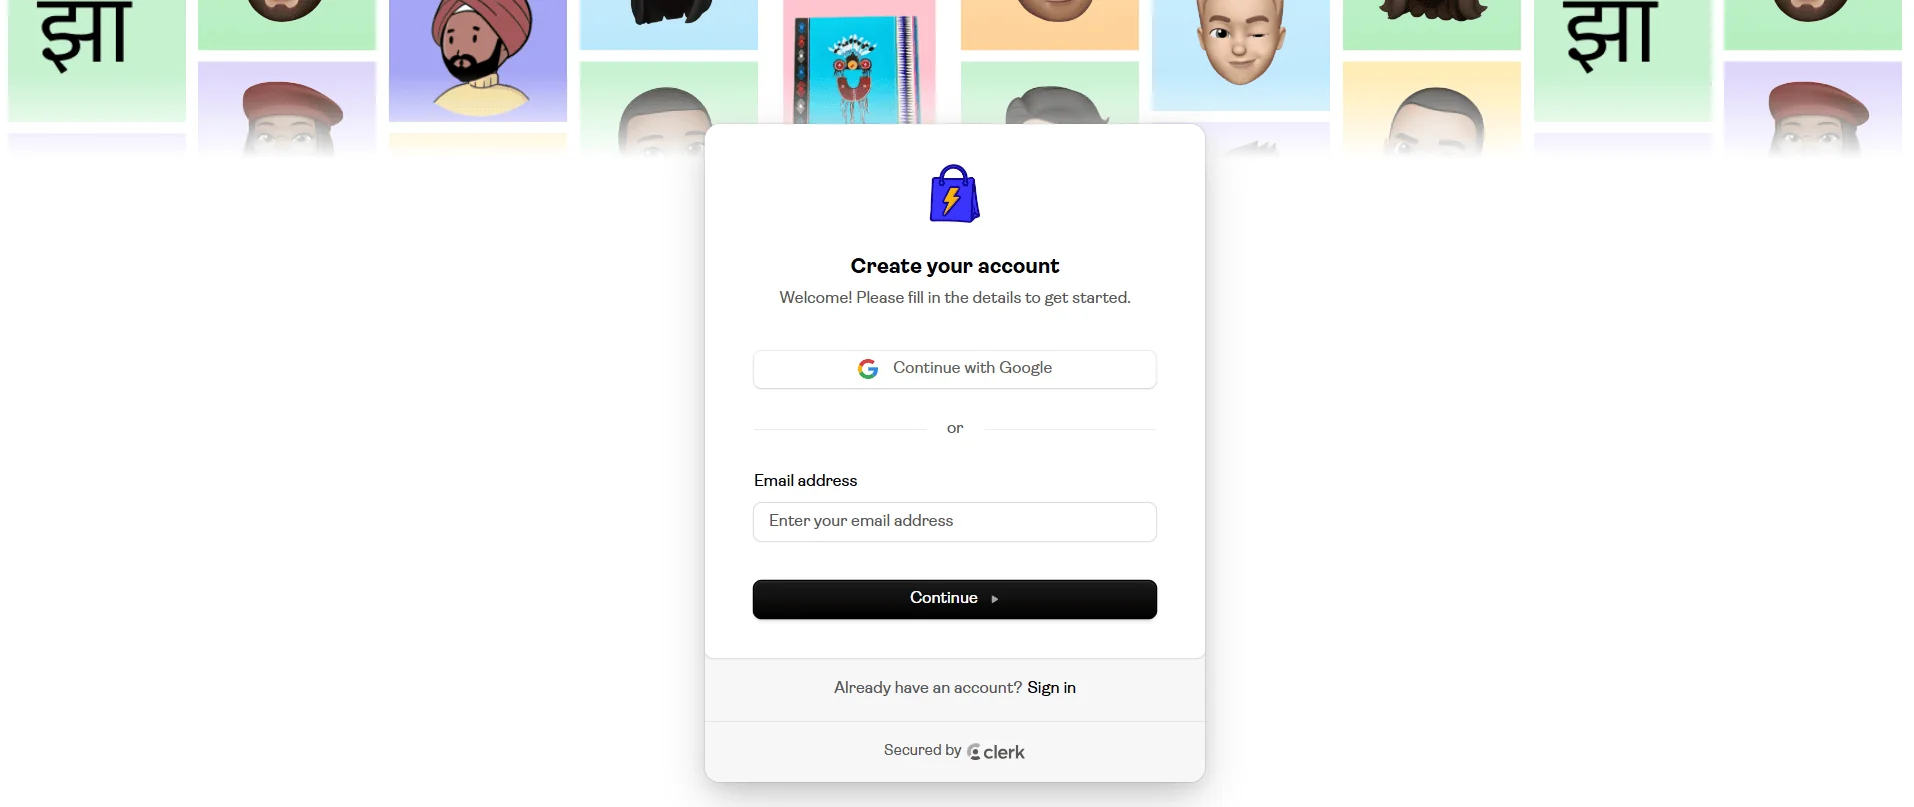
You’ll be taken to an account creation screen.
Sign up using one of these options:
-
Email & Password
-
Google Login
Step 2: Enter Your Store Name
Section titled “Step 2: Enter Your Store Name”You’ll see a prompt asking for your store name.
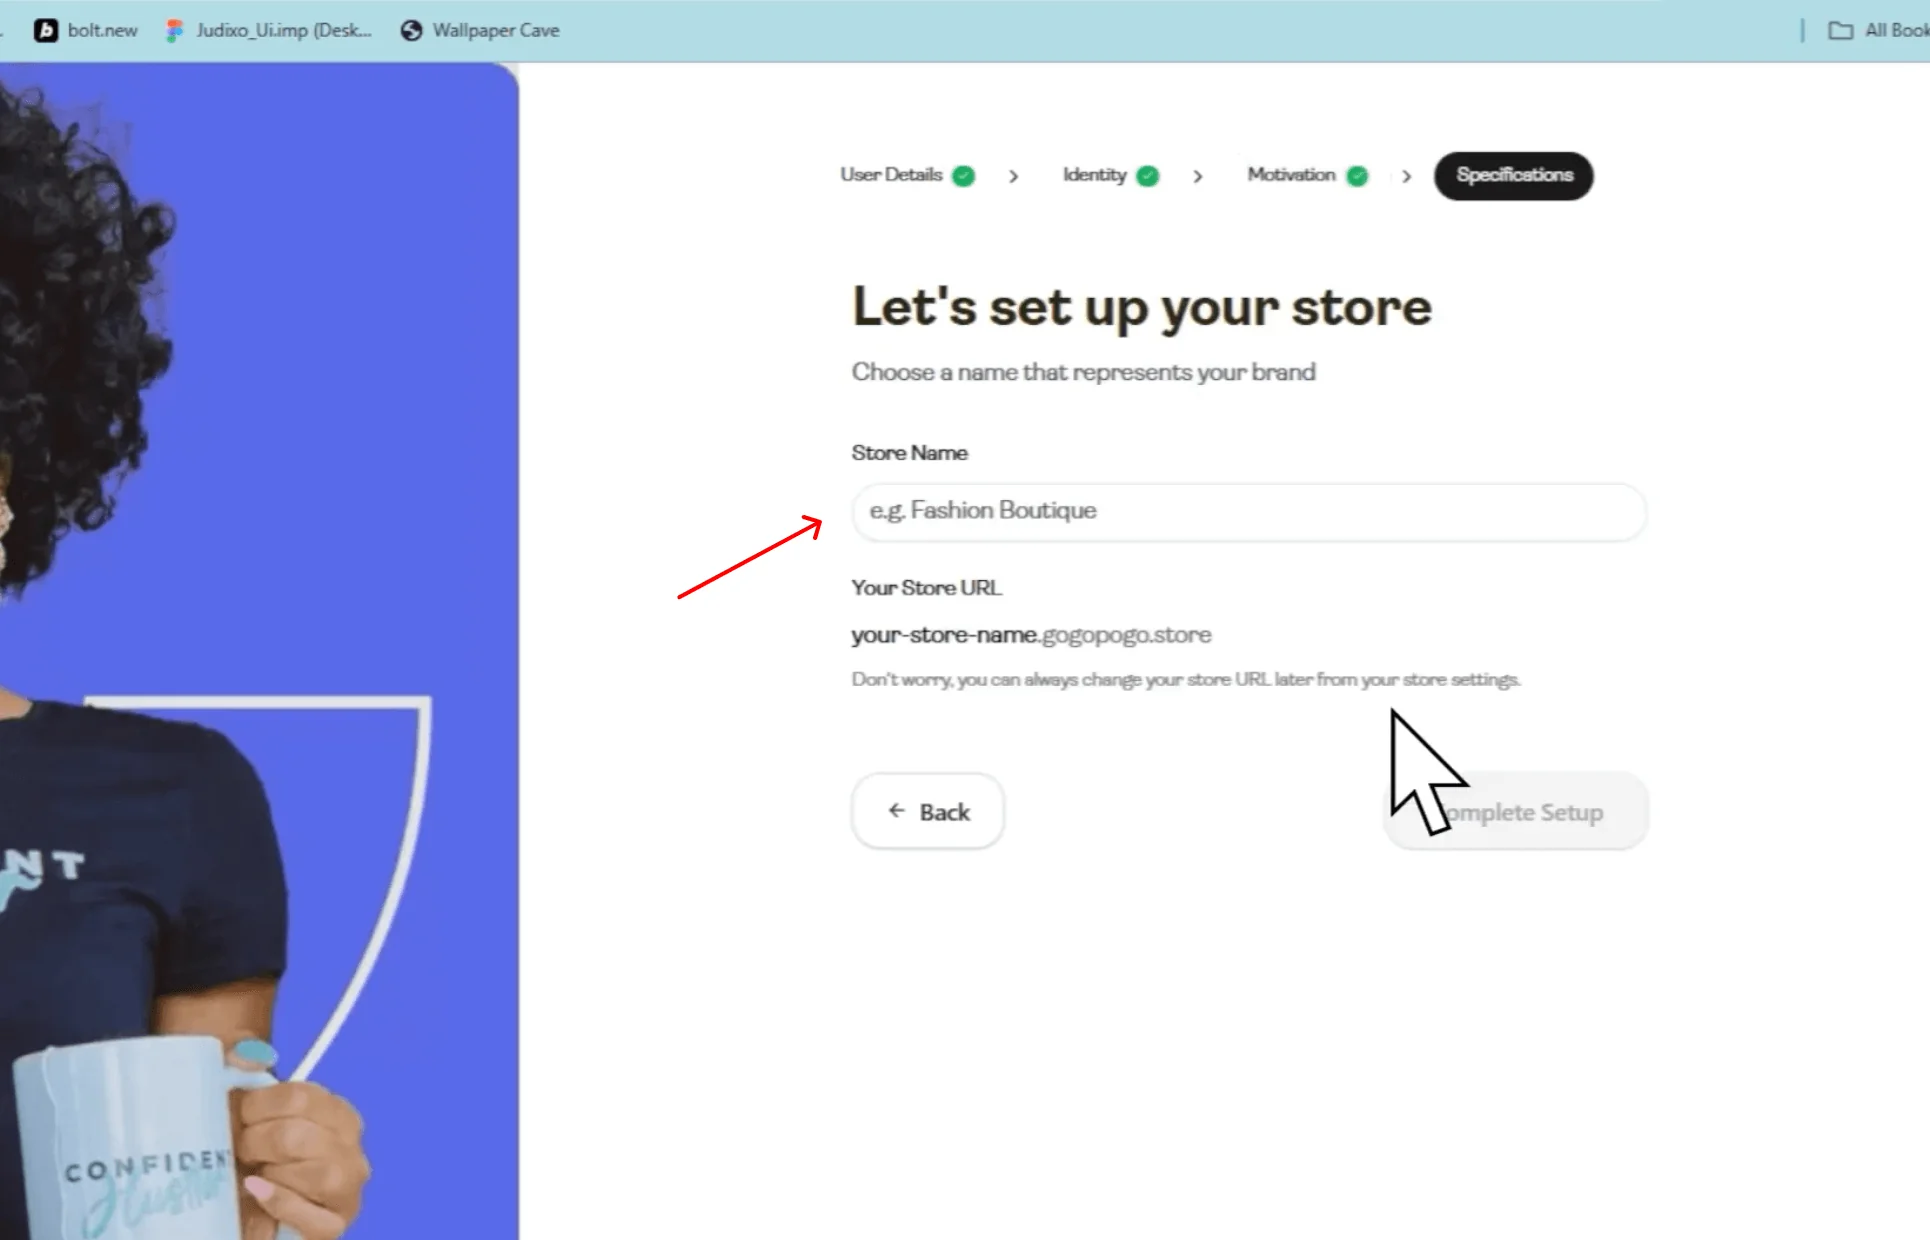
Enter the name and continue.
Step 3: View Your Store Dashboard
Section titled “Step 3: View Your Store Dashboard”Once logged in, you’ll land on the dashboard or store setup overview page.
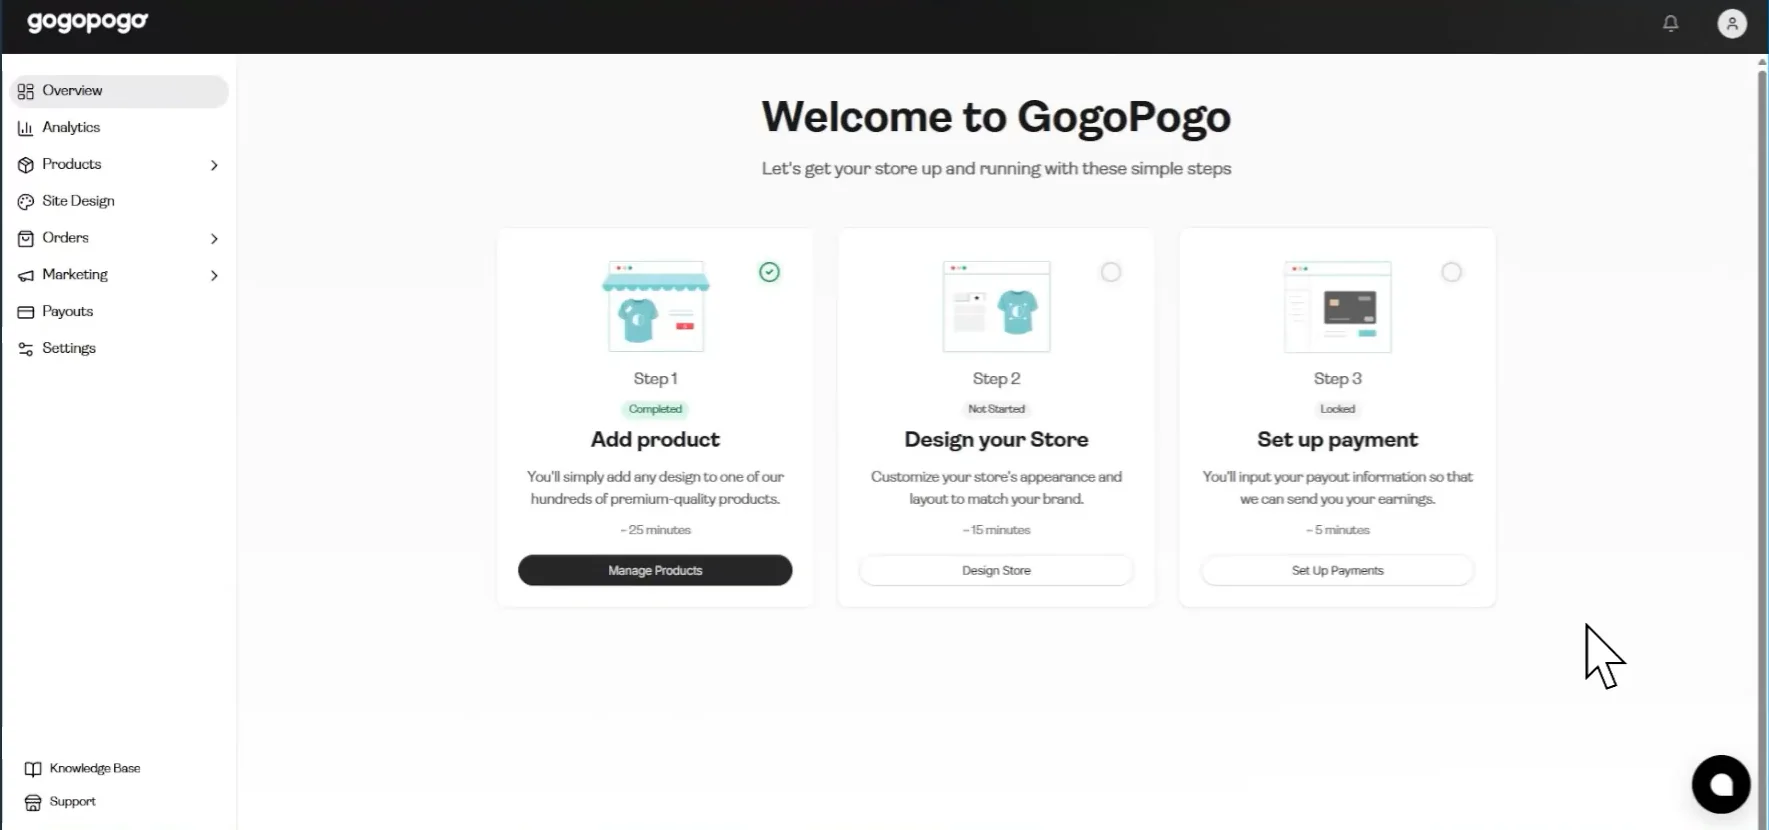
From here, you can typically:
-
Click Add Products
-
Click Design your Store
-
Click Set up Payment
A left-side navigation bar is also present with various tools.
Step 4: Add Your First Product
Section titled “Step 4: Add Your First Product”Click Products → All Products → Add New Product.
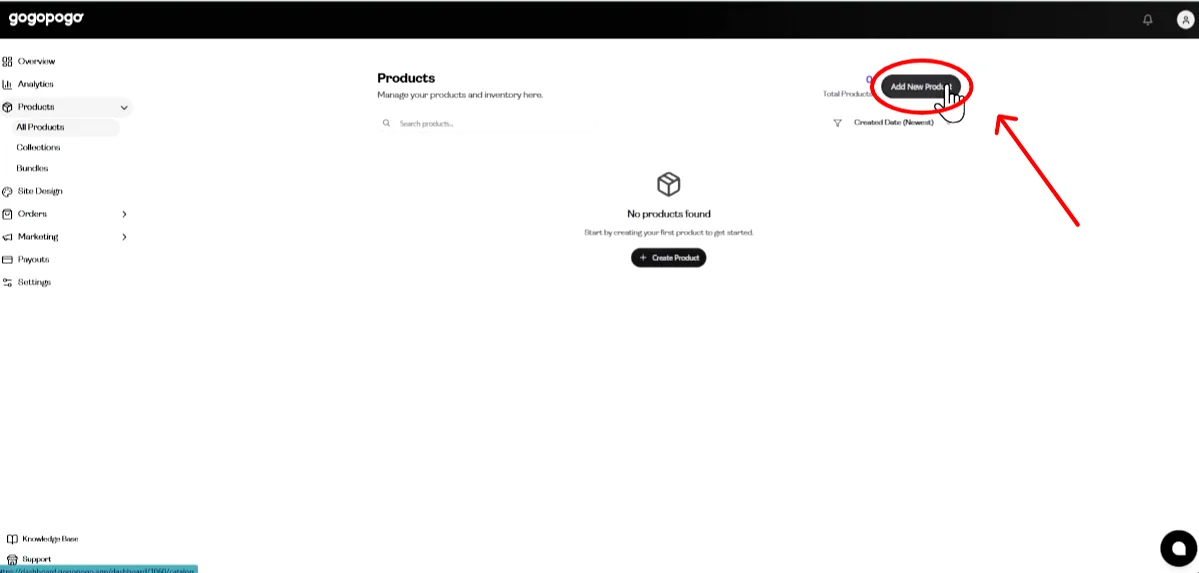
You will see options to:
-
Choose a product type (T-shirts, mugs, keychains, etc.)
-
Upload your design file and select colors
-
Adjust pricing
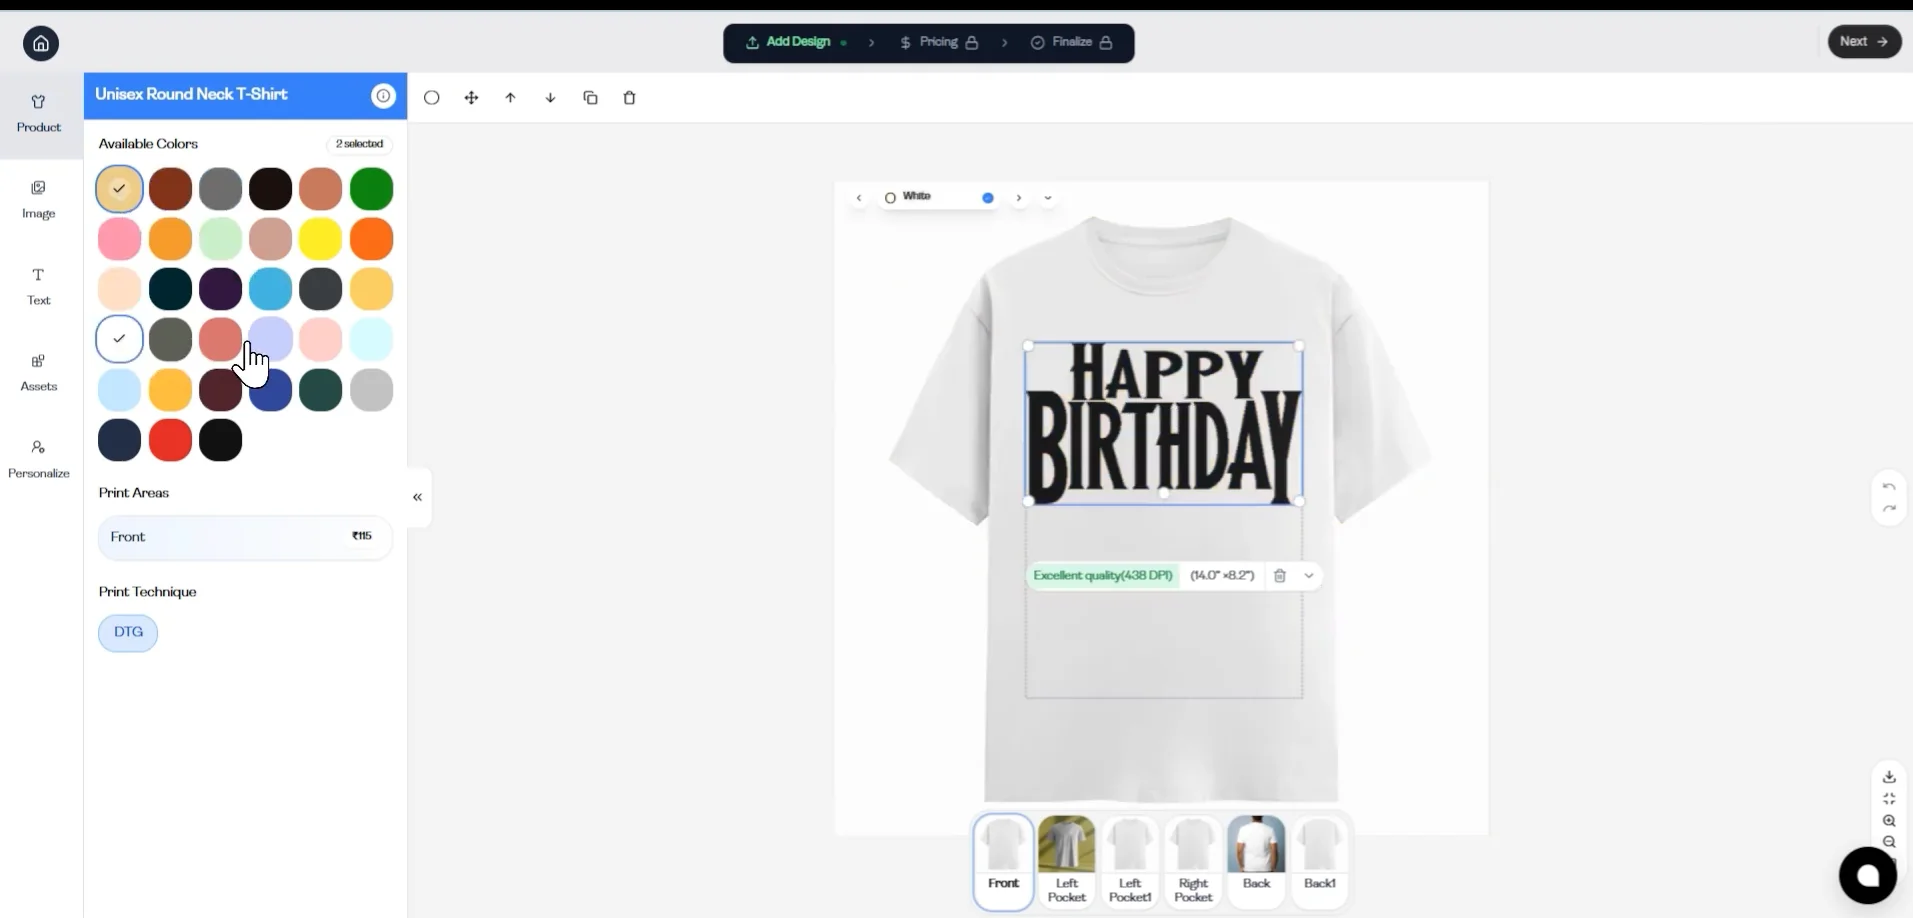
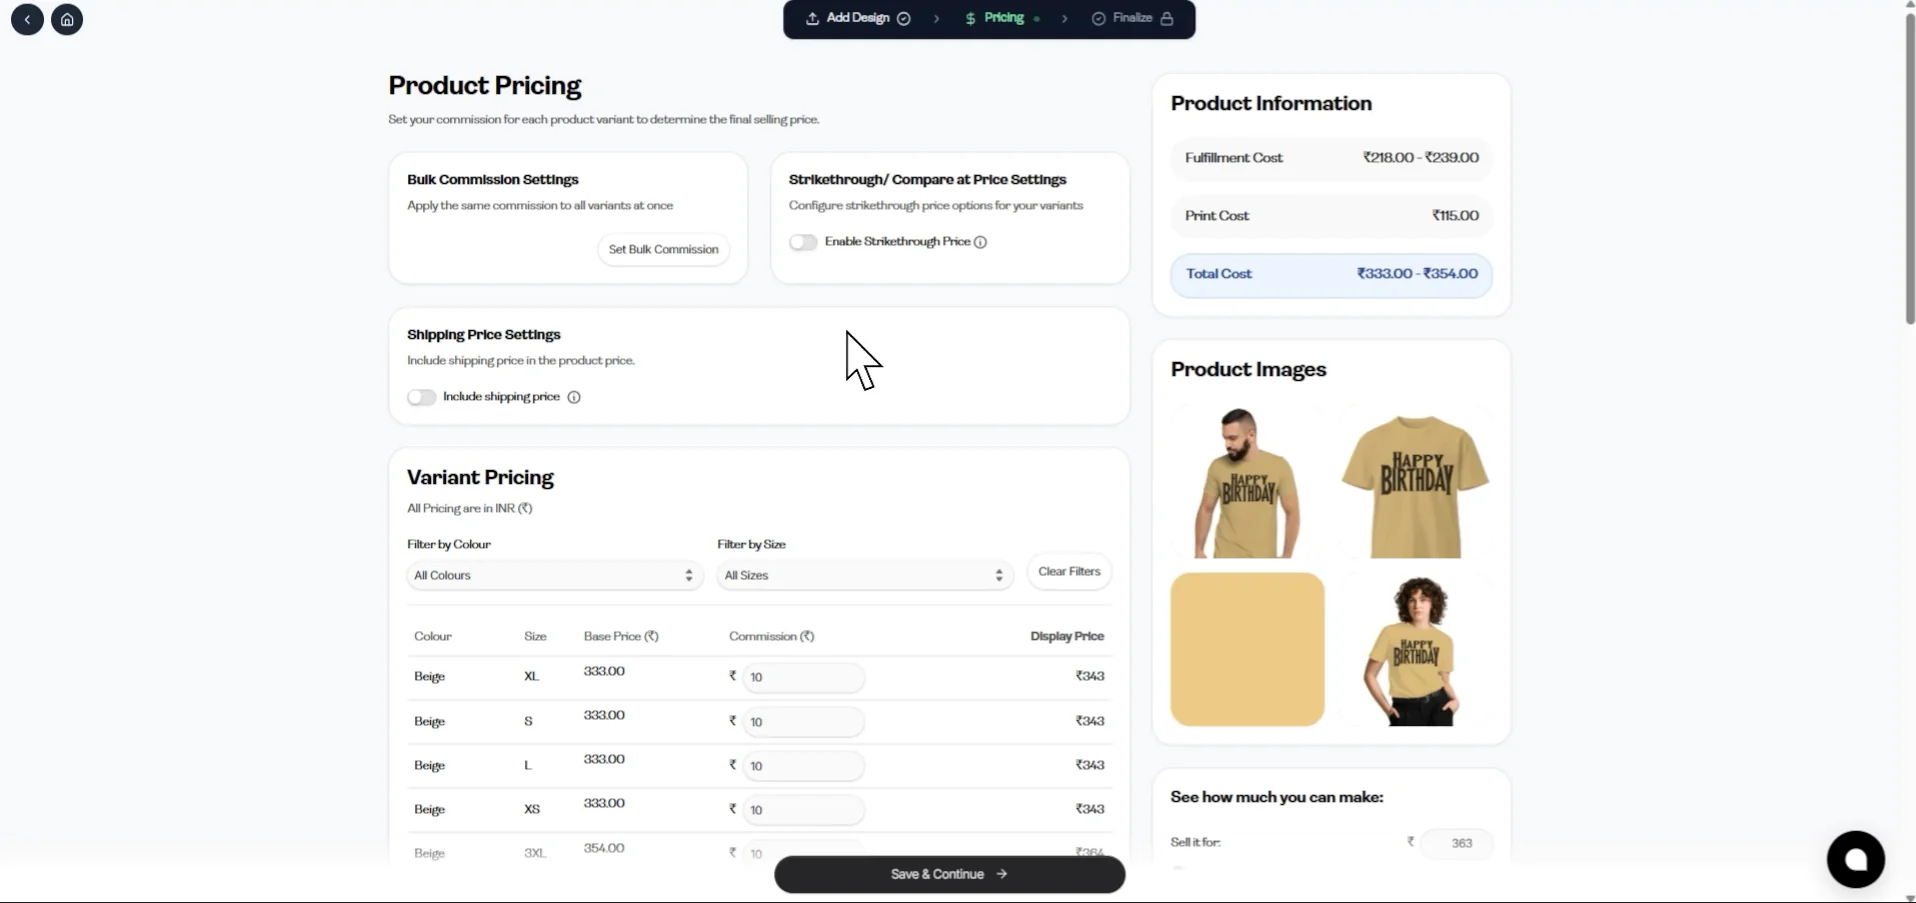
Upload your design, select the products you want to sell, and set your prices. Then click Save and Continue.
Step 5: Customize Your Store
Section titled “Step 5: Customize Your Store”Go to Design Your Store.
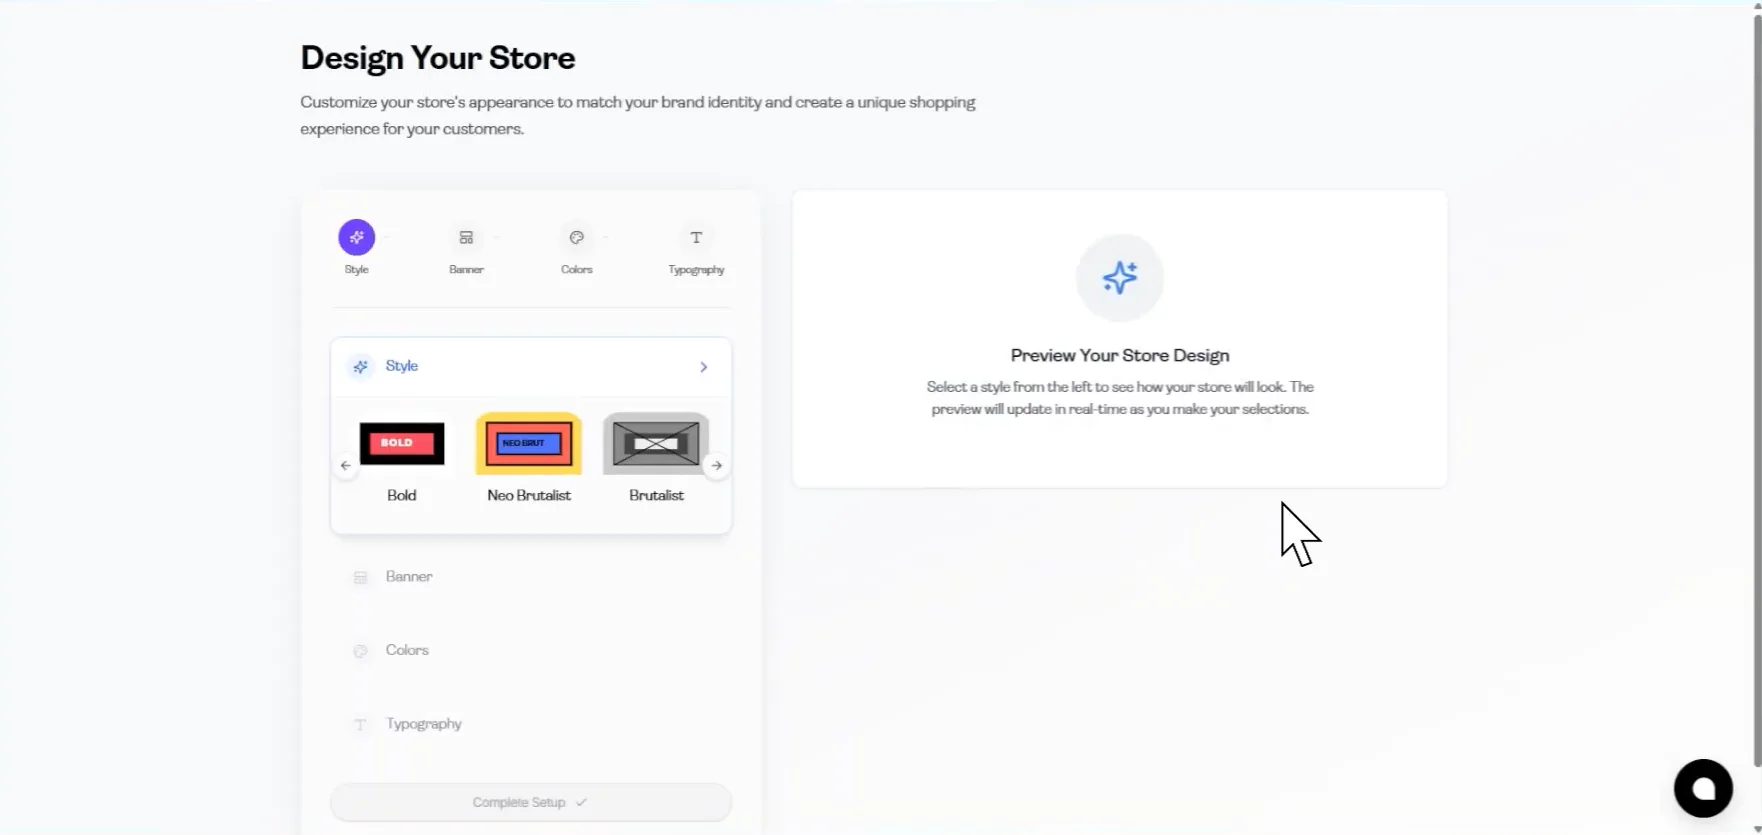
Here you can:
-
Choose a template or theme
-
Update your brand colors
-
Add your logo
-
Edit homepage text
Make sure your store looks clean and aligned with your brand.
Step 6: Preview Your Store
Section titled “Step 6: Preview Your Store”Click the Preview option (Eye icon).
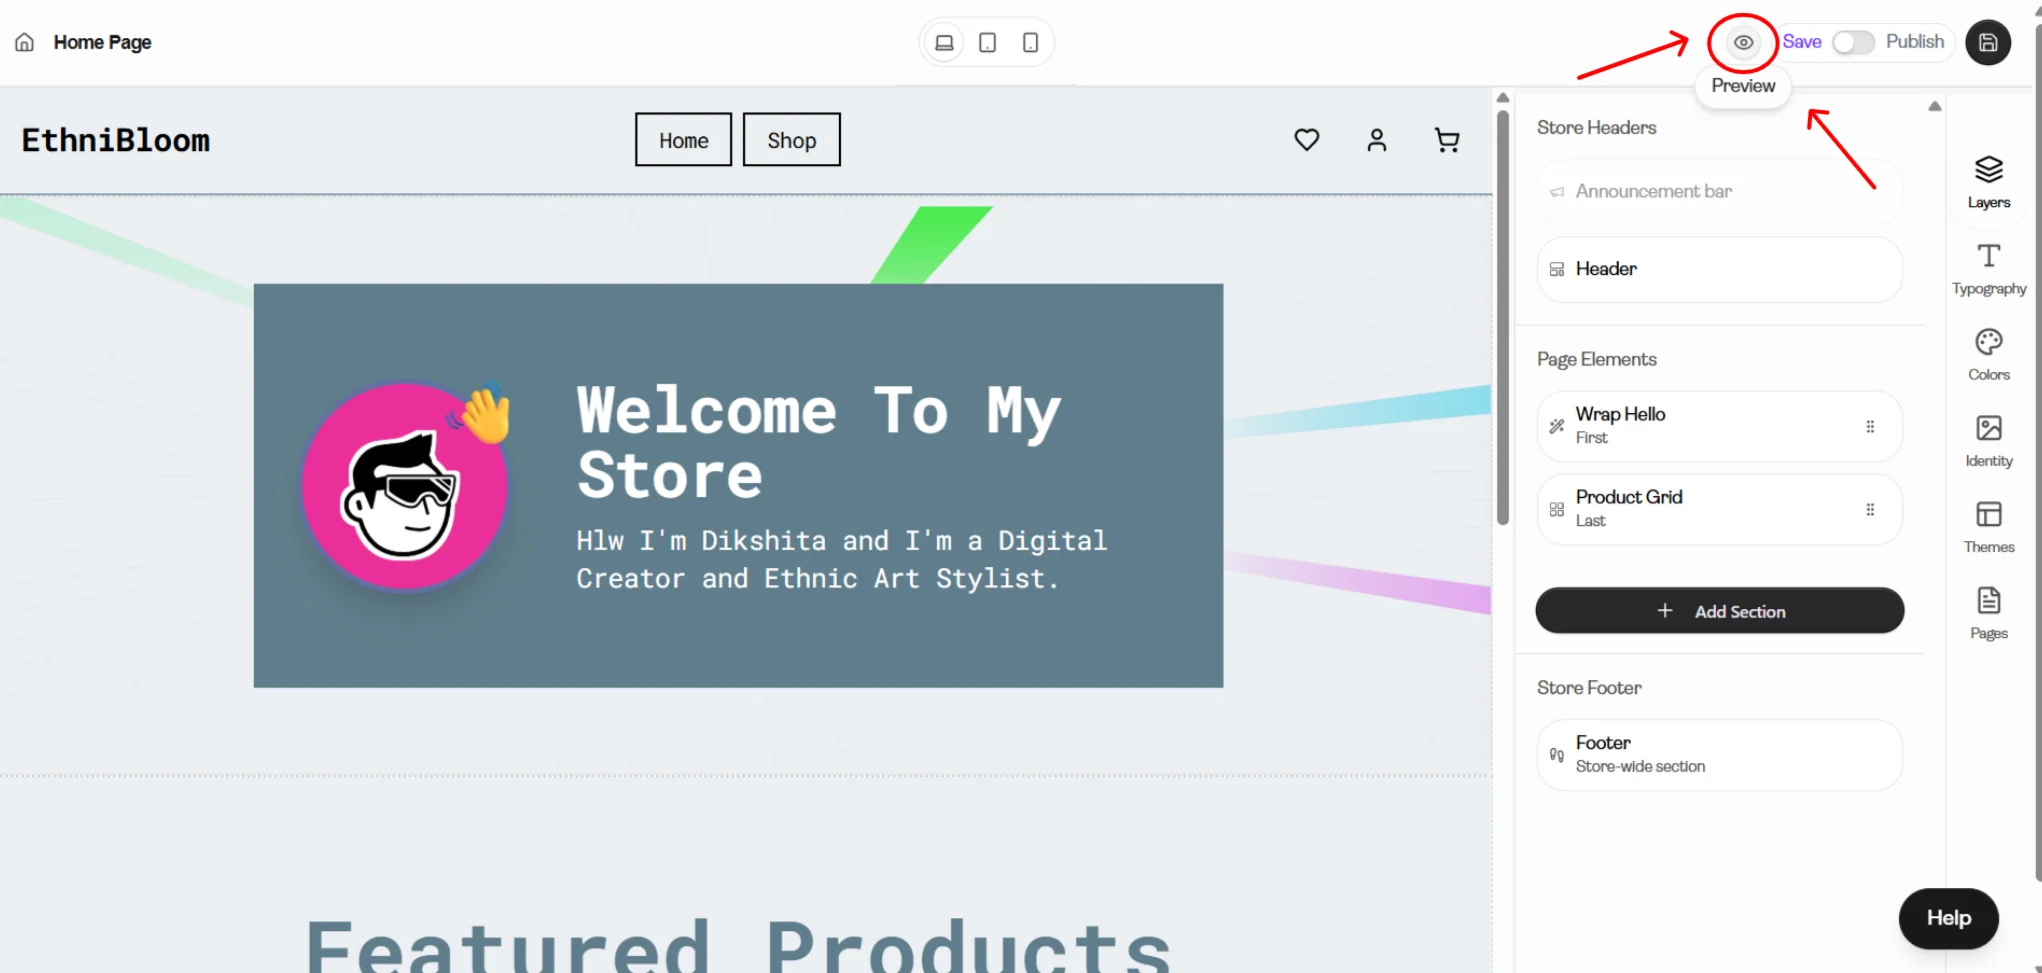
This lets you see your store as customers will see it.
Check that:
-
Your products display properly.
-
Your logo and colors look correct.
-
Navigation works smoothly.
Step 7: Publish Your Store
Section titled “Step 7: Publish Your Store”Once everything looks good, click Save and Publish Store.
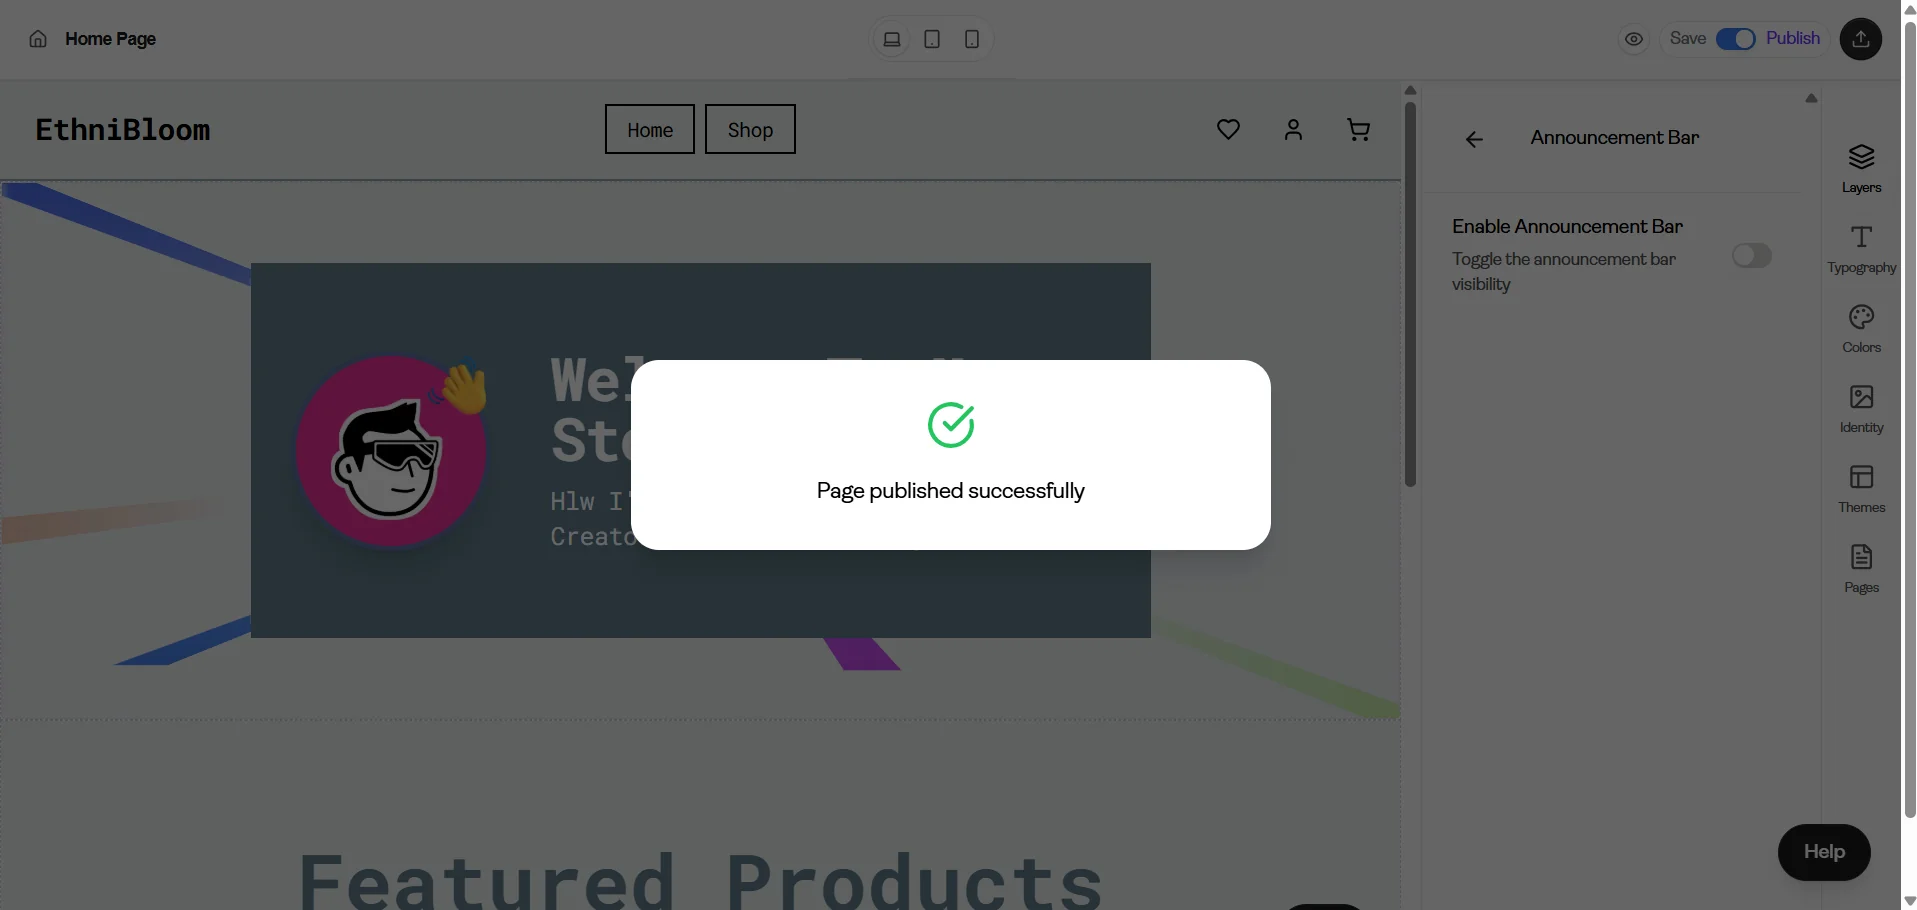
Your store will go live at a URL similar to:
https://yourstorename.gogopogo.store
Your GogoPogo store is now live and ready to start receiving orders.
You can now share this link with your audience.